| Editorial Team
When creating custom tables for Dynamics 365 and
model-driven app projects, updating their icons is
crucial. These tables are assigned a puzzle piece icon
by default, which may not accurately represent their
purpose or content. Updating the table icon is crucial
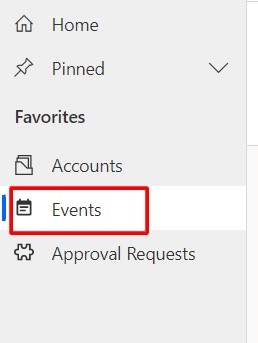
because it’s displayed in various places, such as the
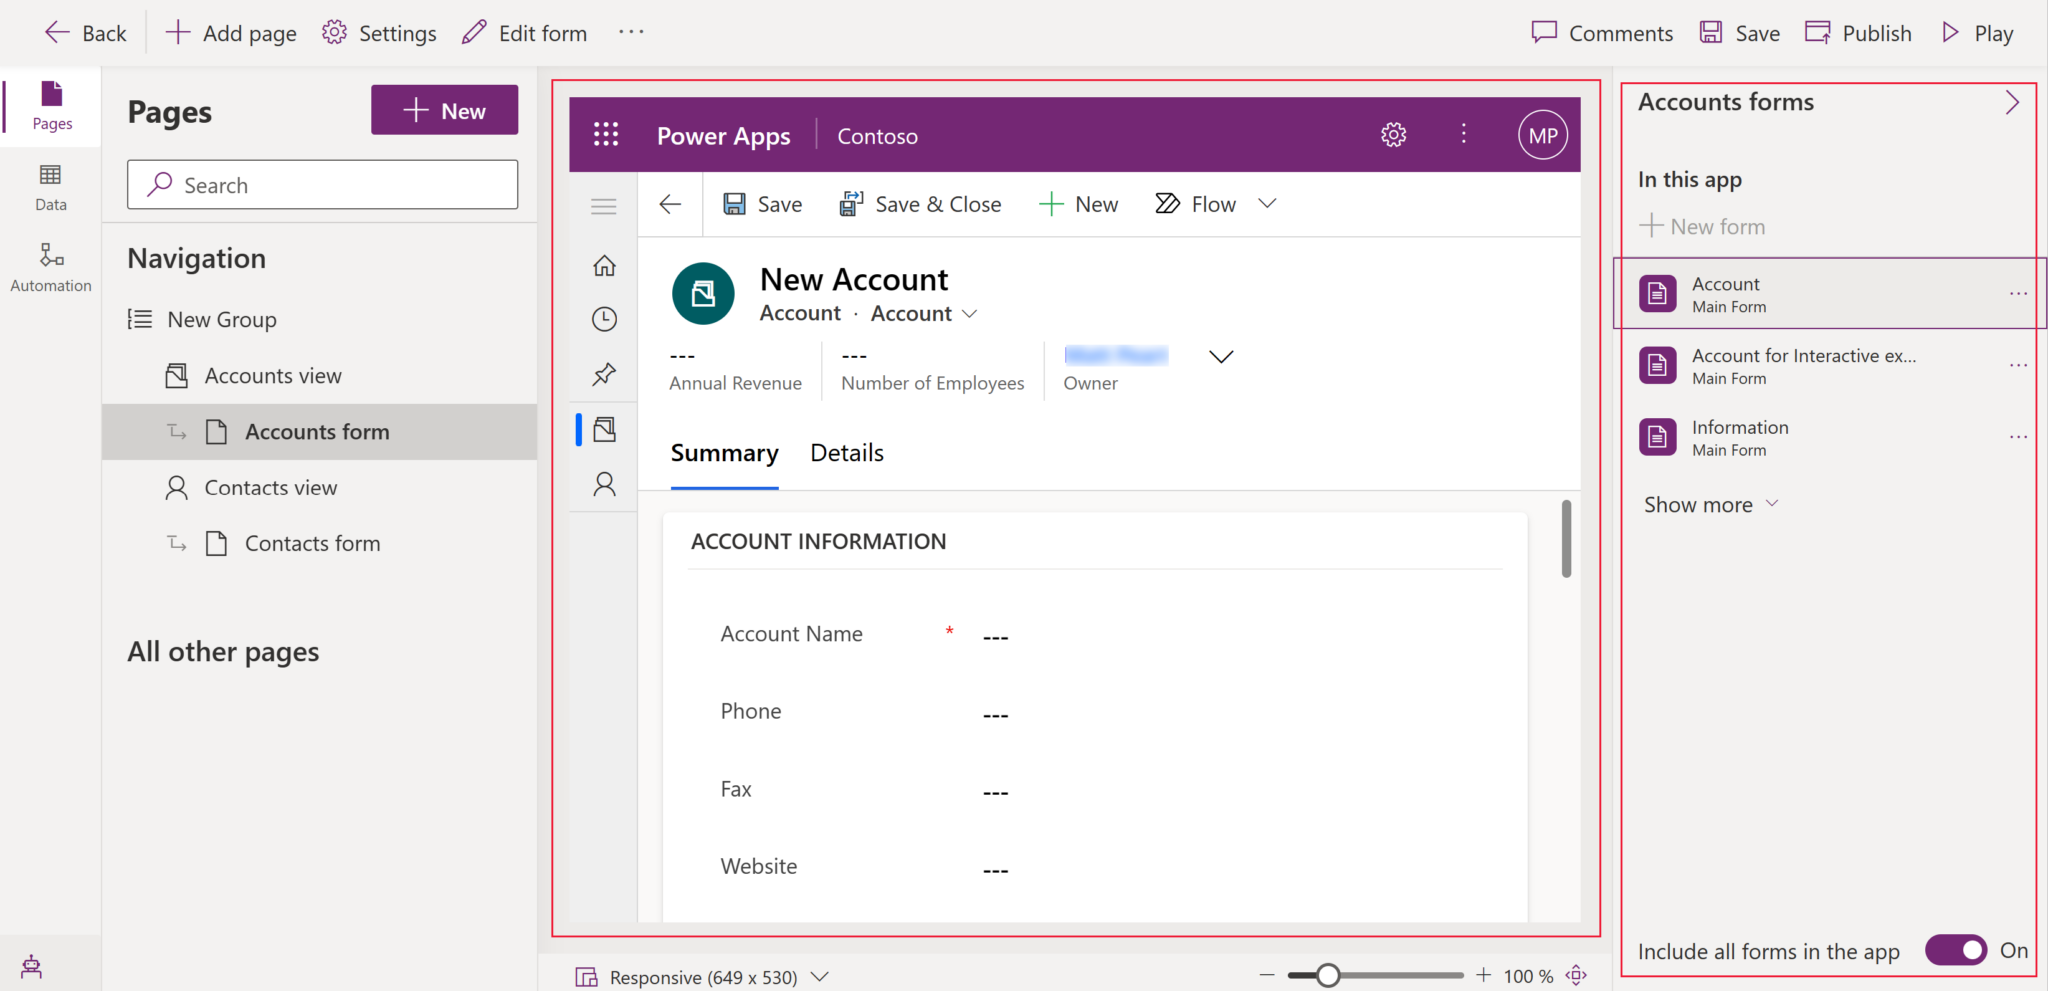
sitemap and lookup value icon, as well as in the primary
image area for the Create form before the data is saved
for the first time. However, if the table doesn’t have a
child relationship and won’t be used as a lookup, it
won’t be added to the sitemap, and there won’t be a
primary image column. In such cases, setting a custom
icon is optional since the default puzzle piece icon and
the custom icon won’t be visible to the user.
Here are the steps to set the icon for a table in the
Power Apps maker portal.
1. Open Solution
Open the unmanaged solution from the Power Apps maker portal with the tables where icons must be set (or the solution where the new table will be created).
2. Table Properties (Existing Table)
For an existing table, click on the Properties on the table page to open the Properties panel.
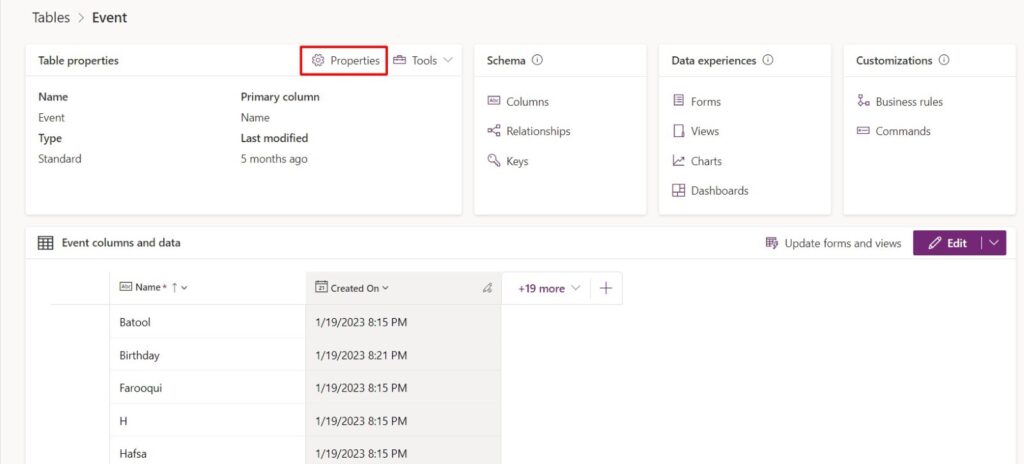
The table properties panel is the same as the one for a new table. You can expand the “Advanced options” and Choose the table image.
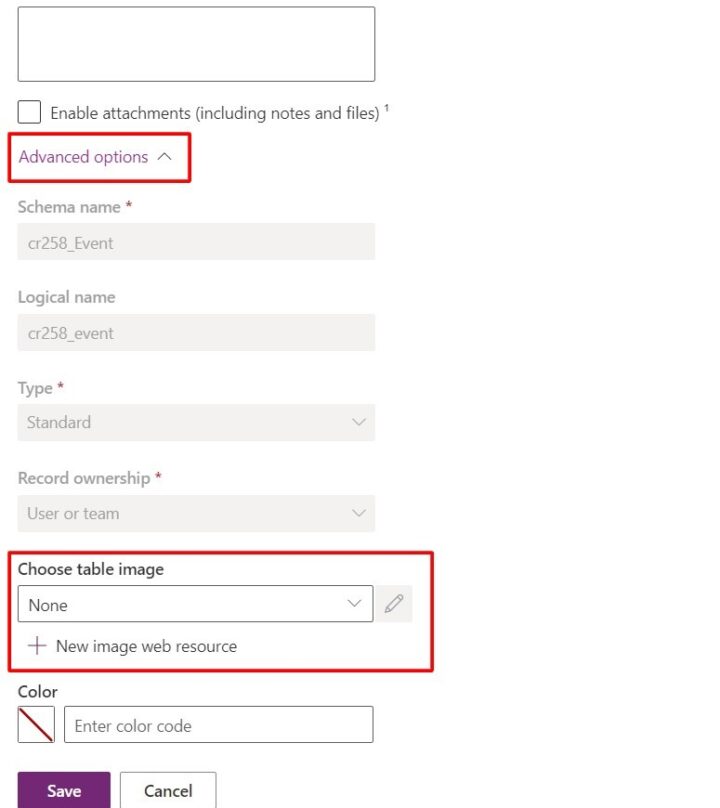
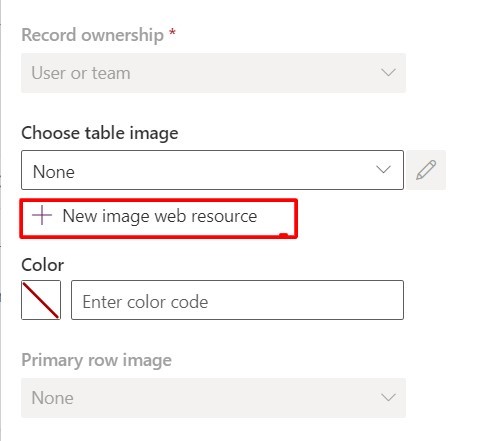
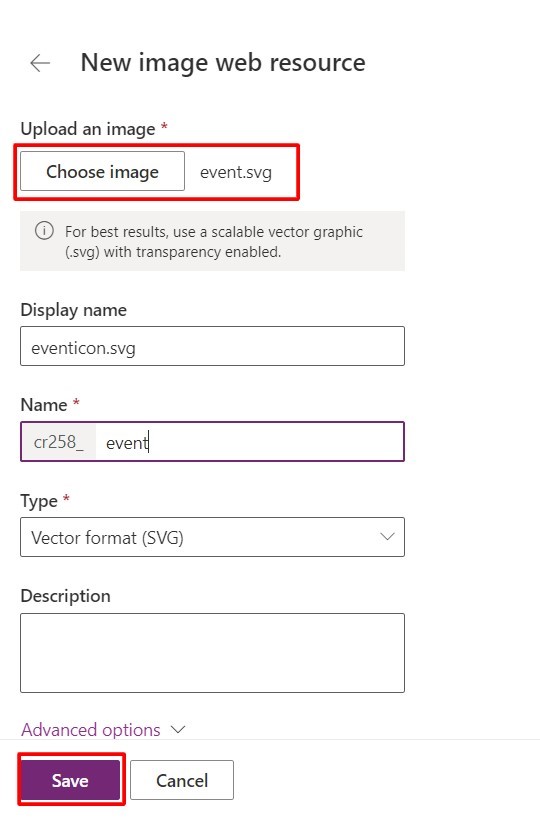
3. Choose Table Image (New web resource)
If the icon image does not exist in the environment, a new web resource can be uploaded by clicking the “New image web resource” button. Once the new image web resource is uploaded, the table image will be populated with the newly uploaded image web resource.
Once the table is saved after selecting the table image, the new icon will be visible in the sitemap, lookup value, primary image, etc.
