| Saim Ali
Follow the follwing steps for portal migration:
- Create a blank portal in your new environment where you are going to migrate data. Then, download XRM toolkil.
-
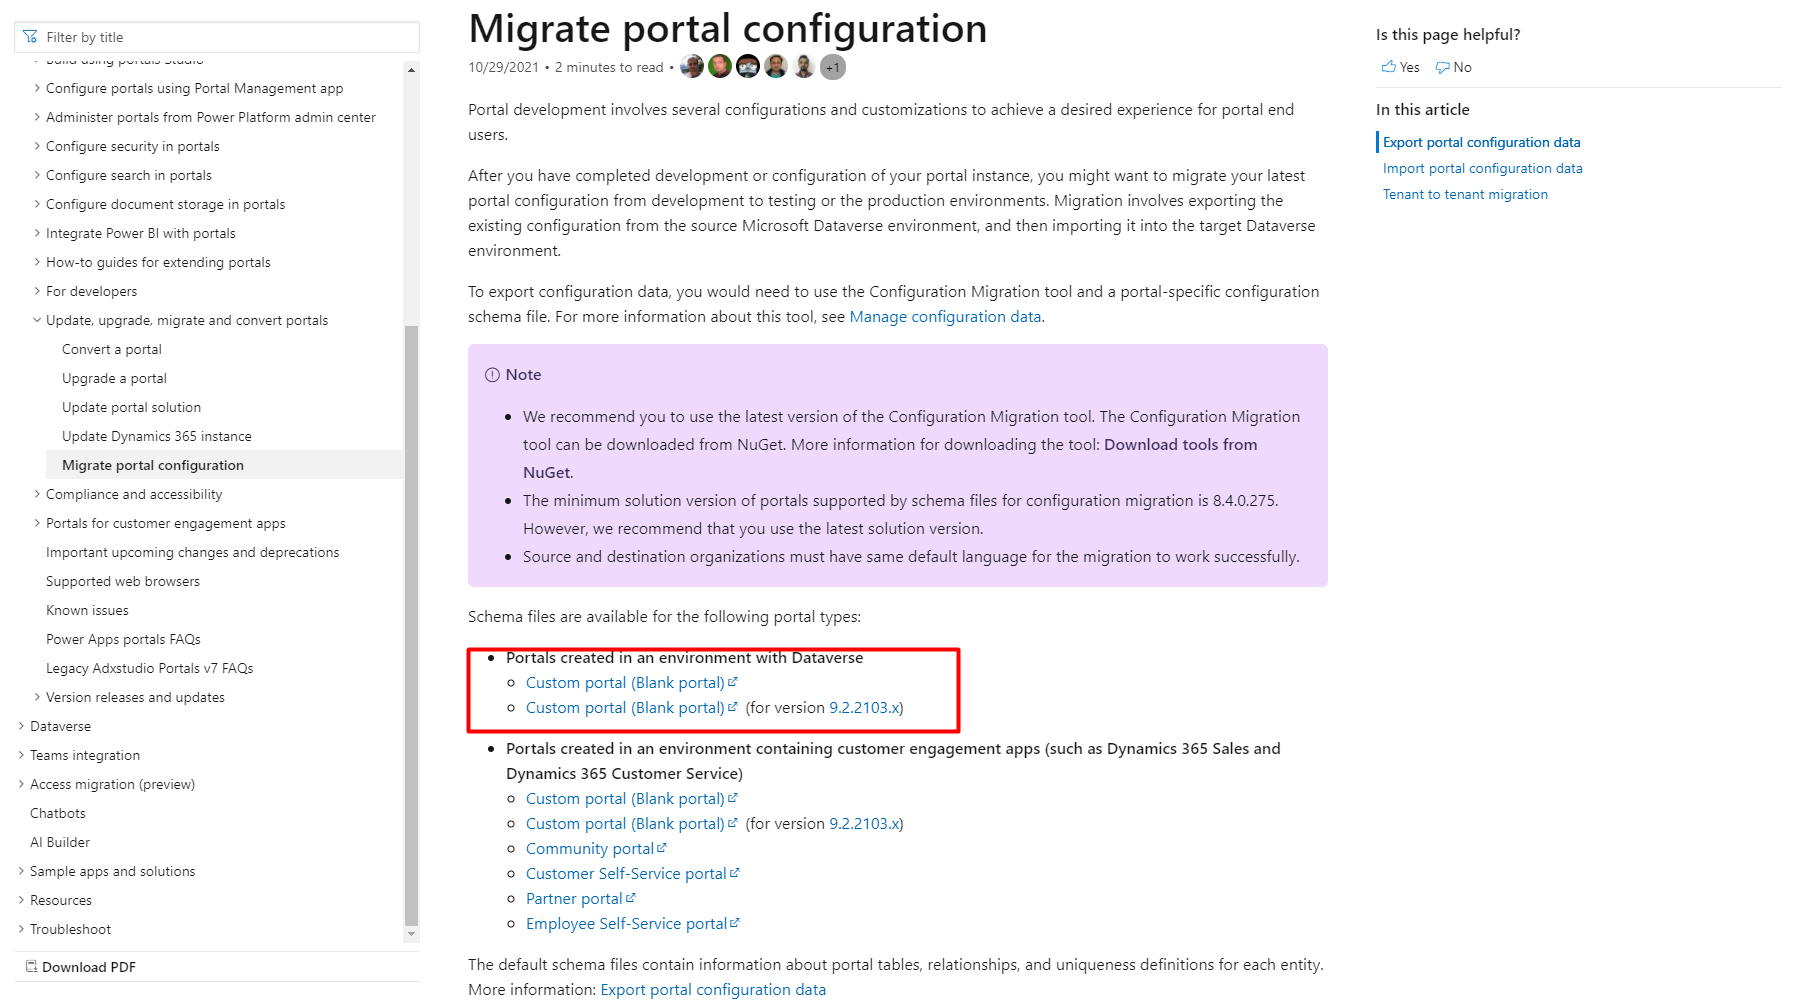
Go to link. Select the Custom Portal shown in the rectangle. This will download a file CommanDataService.xml.
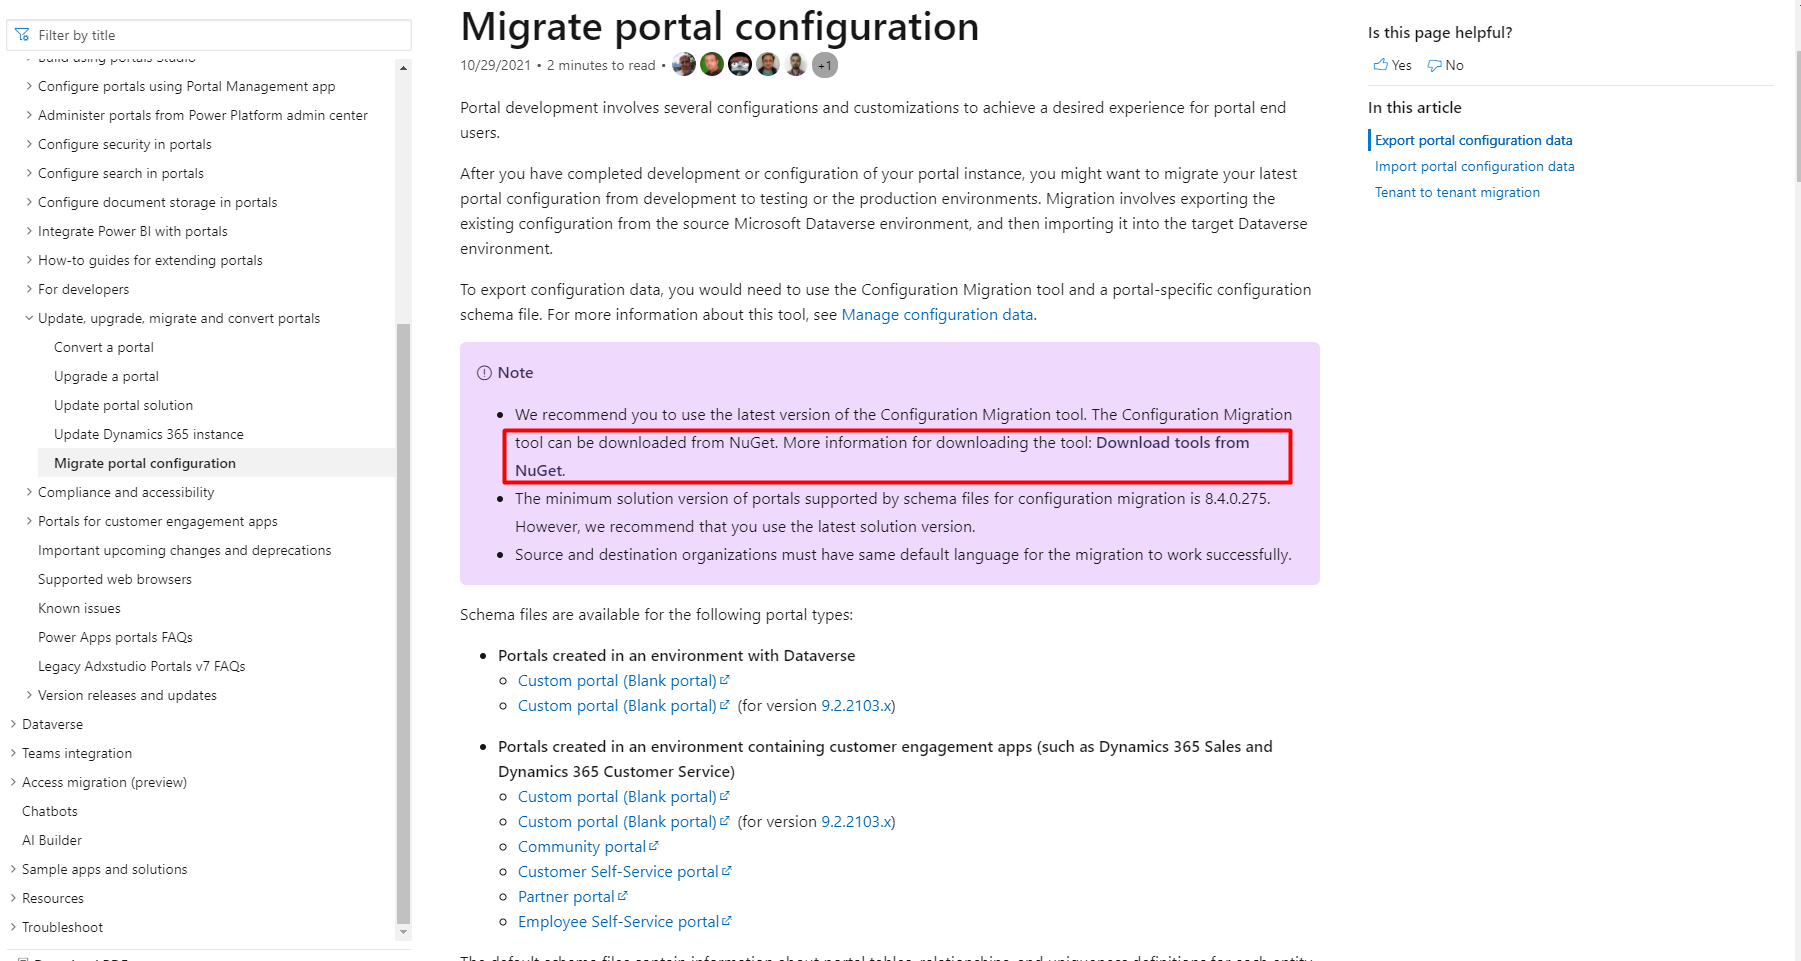
- Using configuration from nuget. Click the link shown inside the rectangle.
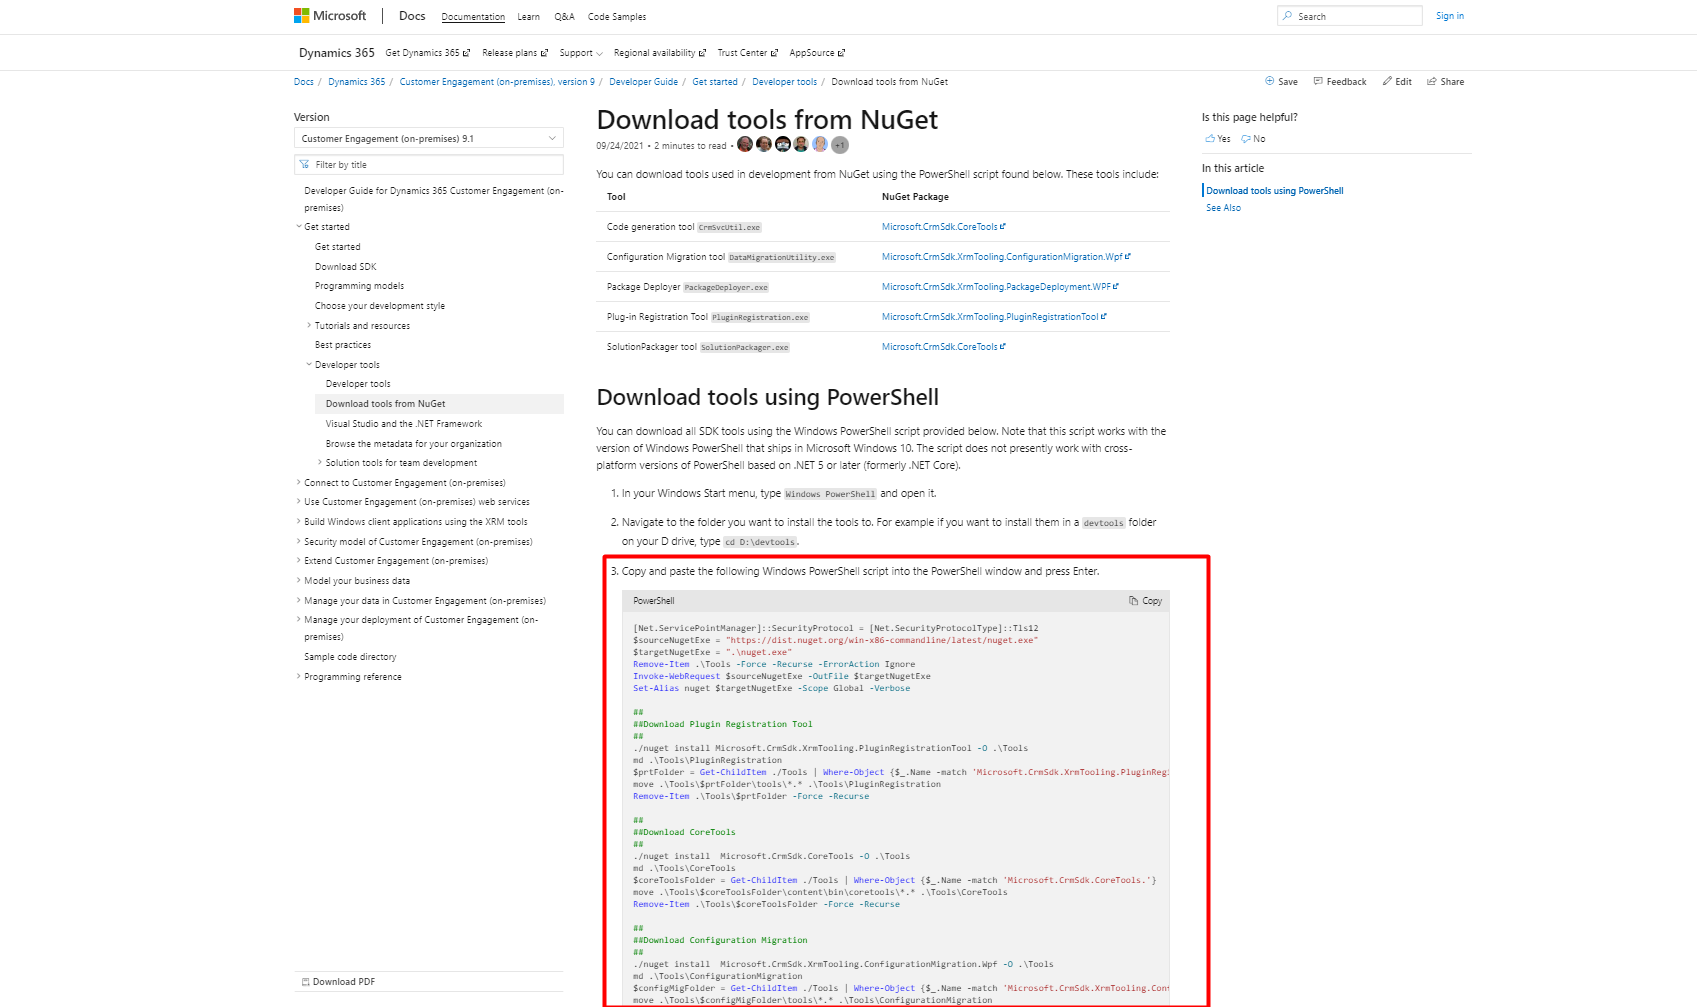
- After clicking the link from step 4 you will be redirected to this page where you can see code in highlighted rectangle. Copy the code and paste it in PowerShell and press Enter.
- After completion of nuget installation, open file explorer and navigate to the directory C:\Users\your username. In this directory you can see nuget.
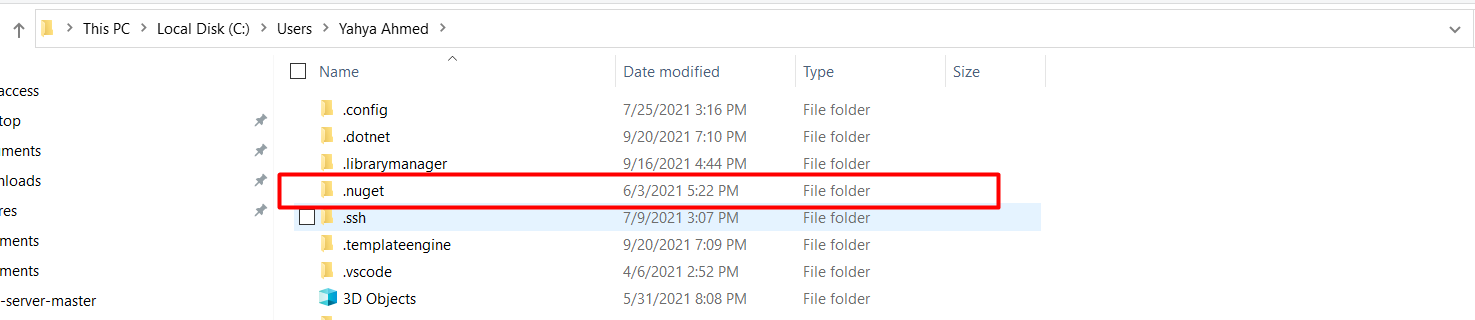
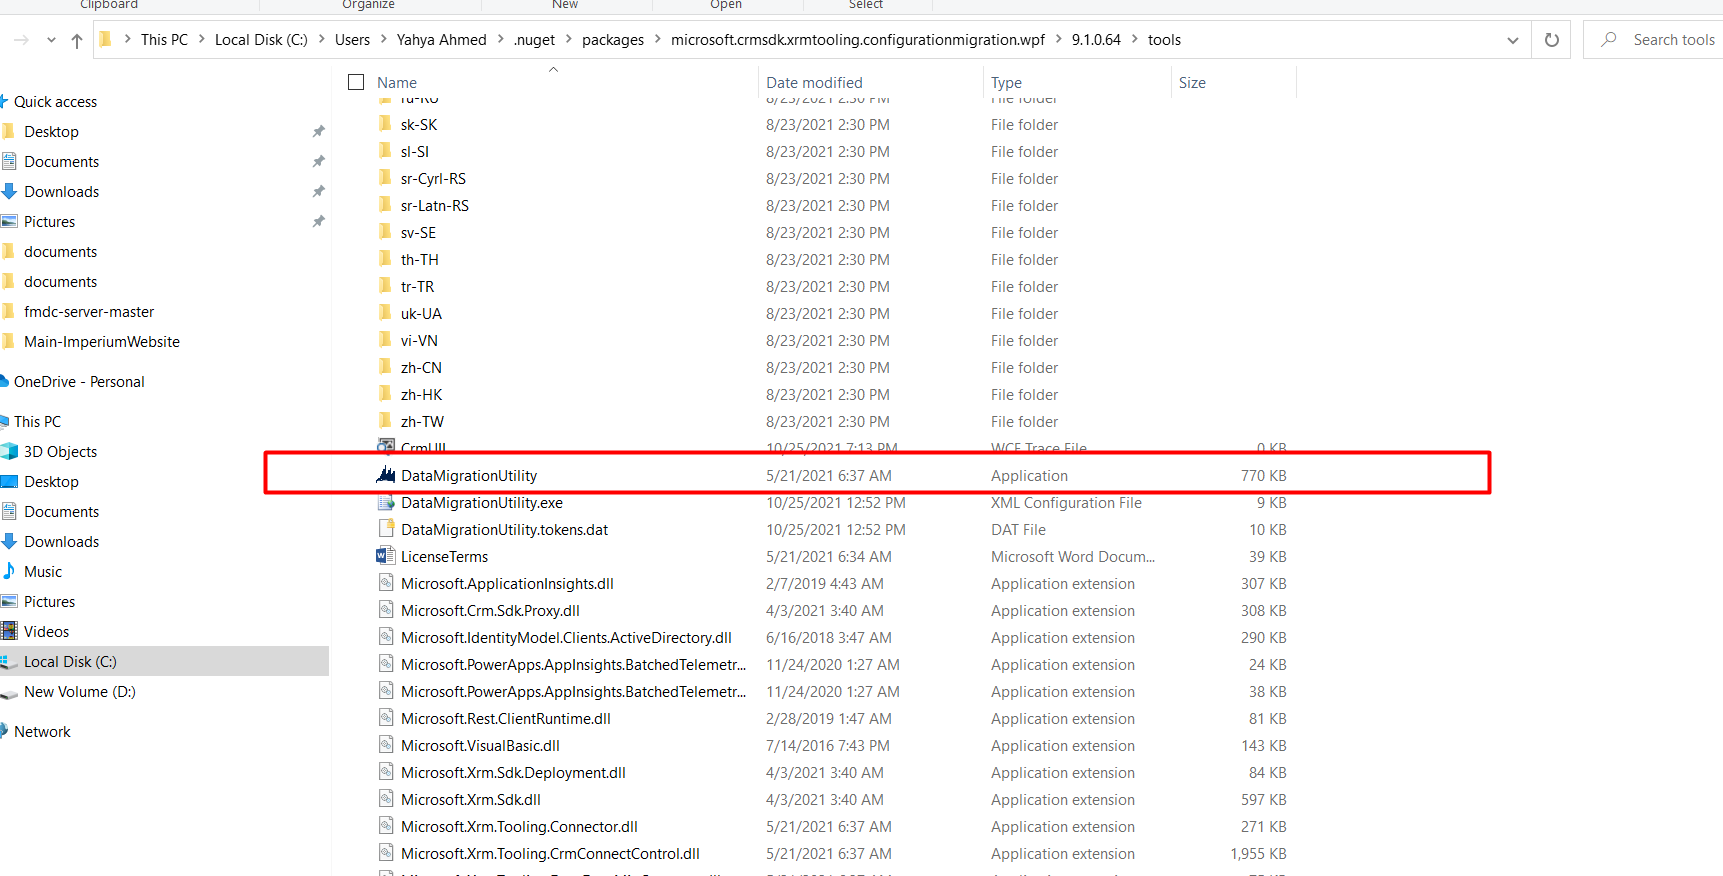
- Go in the .nuget folder and navigate to the path
C:\Users\Yahya Ahmed\.nuget\packages\microsoft.crmsdk.xrmtooling.configurationmigration.wpf\9.1.0.64\tools.
Path may change according to your computer setting =>
C:\Users\your username\.nuget\packages\microsoft.crmsdk.xrmtooling.configurationmigration.wpf\your folder version\tools
You can see the DataMigrationUtility application there.
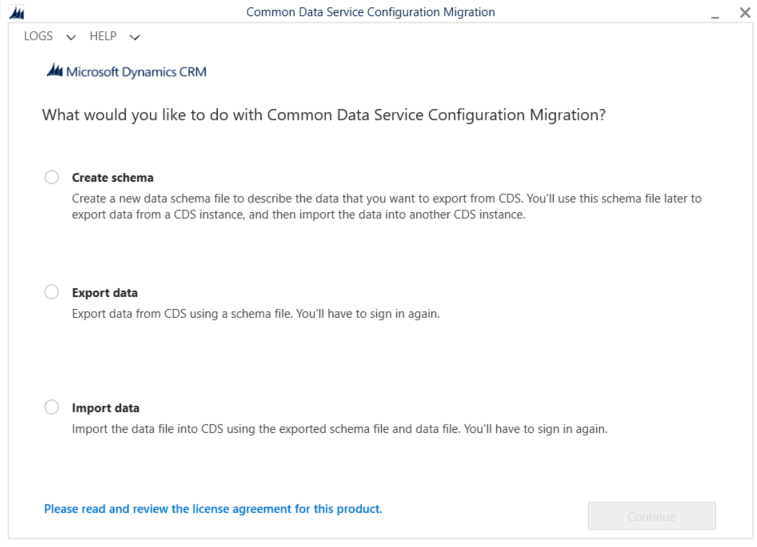
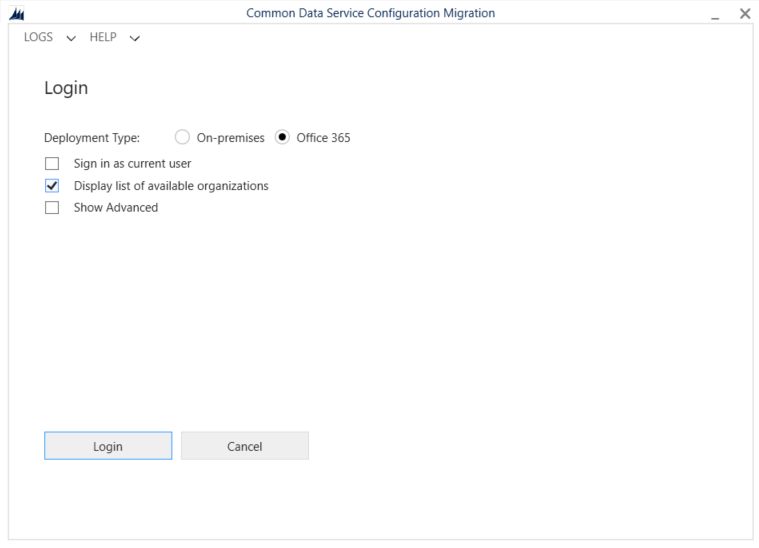
- Open DataMigrationUtility app. Select Export data option and click continue.

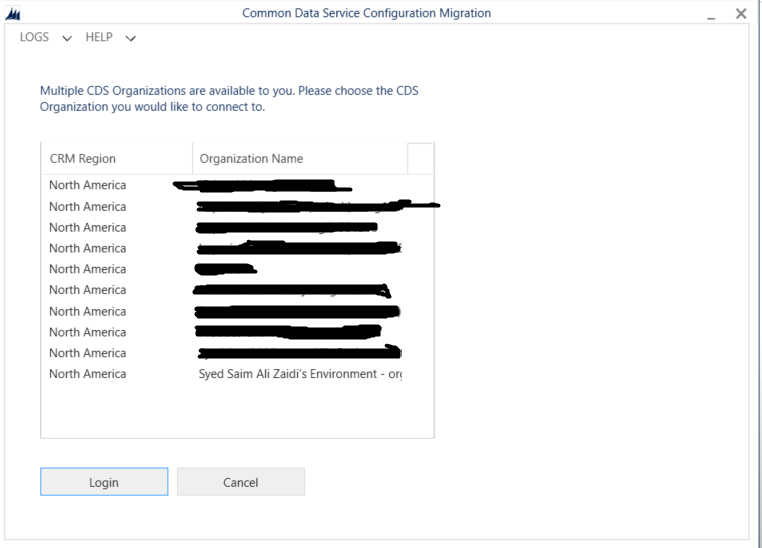
- Select 2nd option and click login. After logining into your account you can see all the environments present. Select the Environment you want to work with and click login.


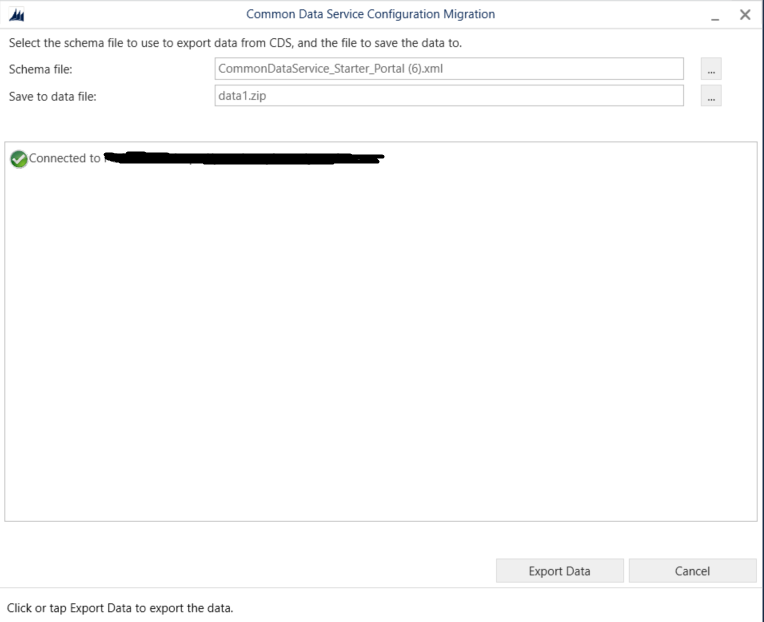
- After Logining in the environment, select the schema file you downloaded step 2 and enter the filename “yourfilename.zip” in the input box labeled save to data file and click export data. This will start exporting your data from the environment to a zip file.
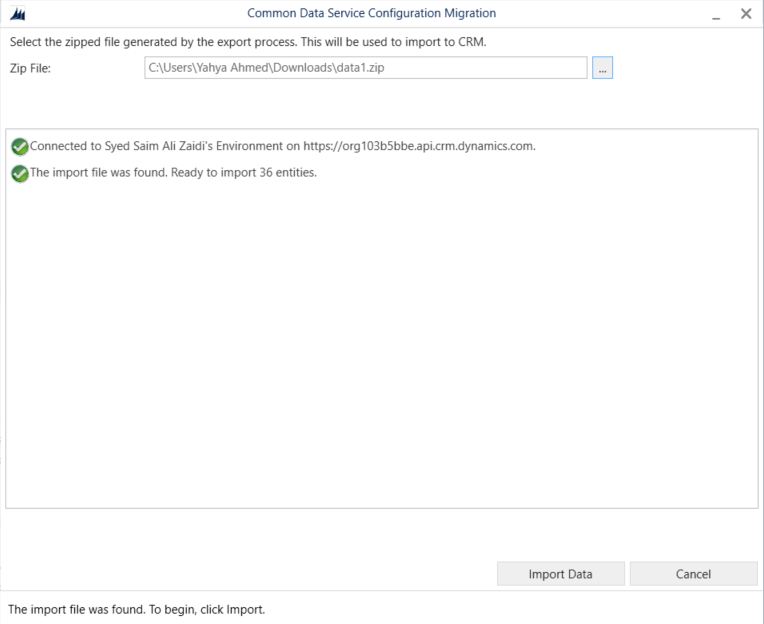
- Now open DataMigrationUtility app again. Select Import data option and click continue.
- Select 2nd option and click login. After logining into your account you can see all the environments present. Select the Environment you want to import data in and click login.
- After Logining in the environment, select the zip file you downloaded in step 9 and click import data.
Once data is imported in your environment you will see the changes on your portal.
Join us next time, as we continue our journey of learning canvas apps.Click here to learn more about Imperium's Power Apps Services. We hope this information was useful, and we look forward to sharing more insights into the Power Platform world.