| Sania Uzair
Connector:
Connectors in Power Apps make it simple to integrate with other applications or services. The connector acts as a connection between the data source and the user interface. To get data into your applications, you'll need connectors to connect to your data sources. This information can take two forms.
- Data Tables: When it provides tables of data, all you have to do is connect the data source to your app and choose the table you wish to interact with.
- Actions: If your connector delivers a set of actions, you'll need to add your data source to your app and then use the formula in the items property to manually point your control to action.
Power Apps offers two different types of connectors. public (built-in) connectors and custom connectors.
Public Connectors:
There are more than 300 connectors that make it simple for app developers to connect to Microsoft and third-party services, such as Dynamics 365 and Dropbox.
You can utilize a variety of connectors in PowerApps to connect to your data source. If you want to connect to Amazon Redshift, for example, you must utilize the " Amazon Redshift " connector.
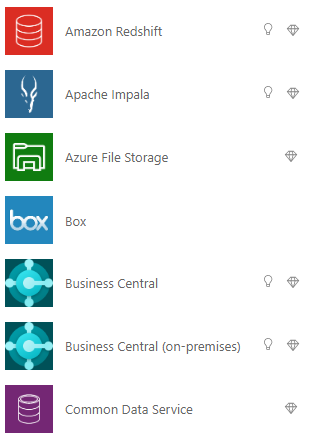
Custom Connectors:
Custom connectors in PowerApps can be built to leverage APIs that aren't provided by the public connectors. Custom connectors for PowerApps surely enhance apps by calling APIs, services, and systems for scenarios specific to your enterprise.
How To Create Custom Connector From API?
- Open Power Apps Maker site.
- Select “Data “, choose “Custom Connector “.
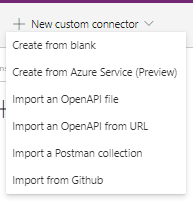
- Then click “New custom connector” and choose the type of your custom connector
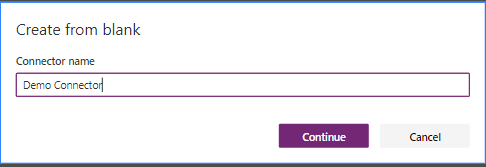
- Name the connector, then click “Continue”.
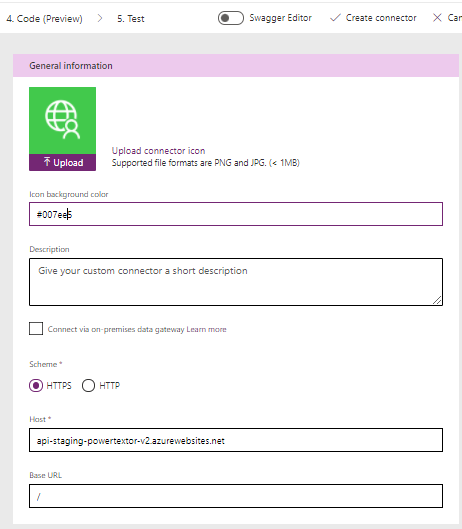
- Set Connector details such as Connector Icon (an icon relevant to the connector you will construct), Icon background color in the "General" tab. (if you want to put background color behind the icon or do nothing if you want the icon to be transparent), Description. (As you wish) HTTPS or HTTP call is the schema. We'll use HTTPS in my situation. The host >> this is where you'll put the API host. The Base URL for the API. Then click “Create Connector”
- The custom connector's security is then added. In custom connector, there are numerous authentication options. we'll use basic authentication for the options "No authentication, Basic authentication, API key, and OAuth 2.0." When the user wants to make a connection, the parameter label is used. The parameter name will be the header of the parameter itself in your API, and the user will put information here to authenticate while using the application. Choose a relevant name so that when the user connects, they know that they will put an information here.
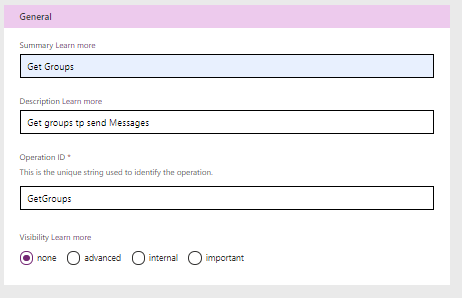
- The custom connector's Definition page gives you a number of options for determining how your connector works and how it's shown in your Apps. The definition page is broken down into three sections: actions, references, and policies. We'll use Activities here, which refers to the actions or operations that the user will conduct with this connector. For example, we get all groups with this connector, so let's add an action to obtain information from our DB. Click new actions, then give a brief description of what the connector does in the summary. Write the description of your connector in the description field. And then fill in the operation id.
- Now, we need to define the request by clicking import from sample.

- Then add response of this API by click add default response option.
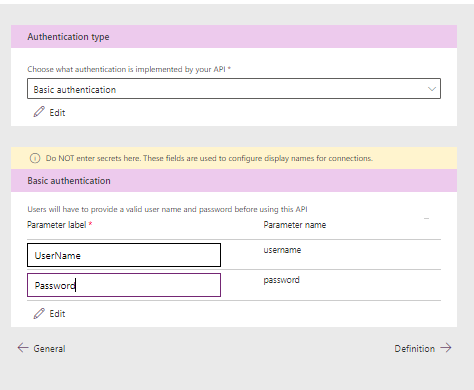
After you've created an API with authenticated access, you'll need to define it so that your power apps can connect with it.
Then insert url of your API and the verb of this api then click import.

Test your API by clicking Test option.
Join us next time, as we continue our journey of learning canvas apps.Click here to learn more about Imperium's Power Apps Services. We hope this information was useful, and we look forward to sharing more insights into the Power Platform world.
