| Ijlal Monawwar
We populate data in our entity by the help of forms which allows us to input data in specific fields (after modification) and then display it, or edit it for later. It is basically the interface between the user and the entity.
Most of the time, we need some custom functionality inside our forms to meet certain requirements in our model-driven app, and one of the better ways to achieve it is by using JavaScript. Setting up business rules provides a handy alternative for the mainstream citizen developer but in some cases, business requirements need special attention and care to satisfy them, which we can’t pull off by just applying business rules. We need to add some custom script like JavaScript, which provides a powerful way to extend the application and enable automation.
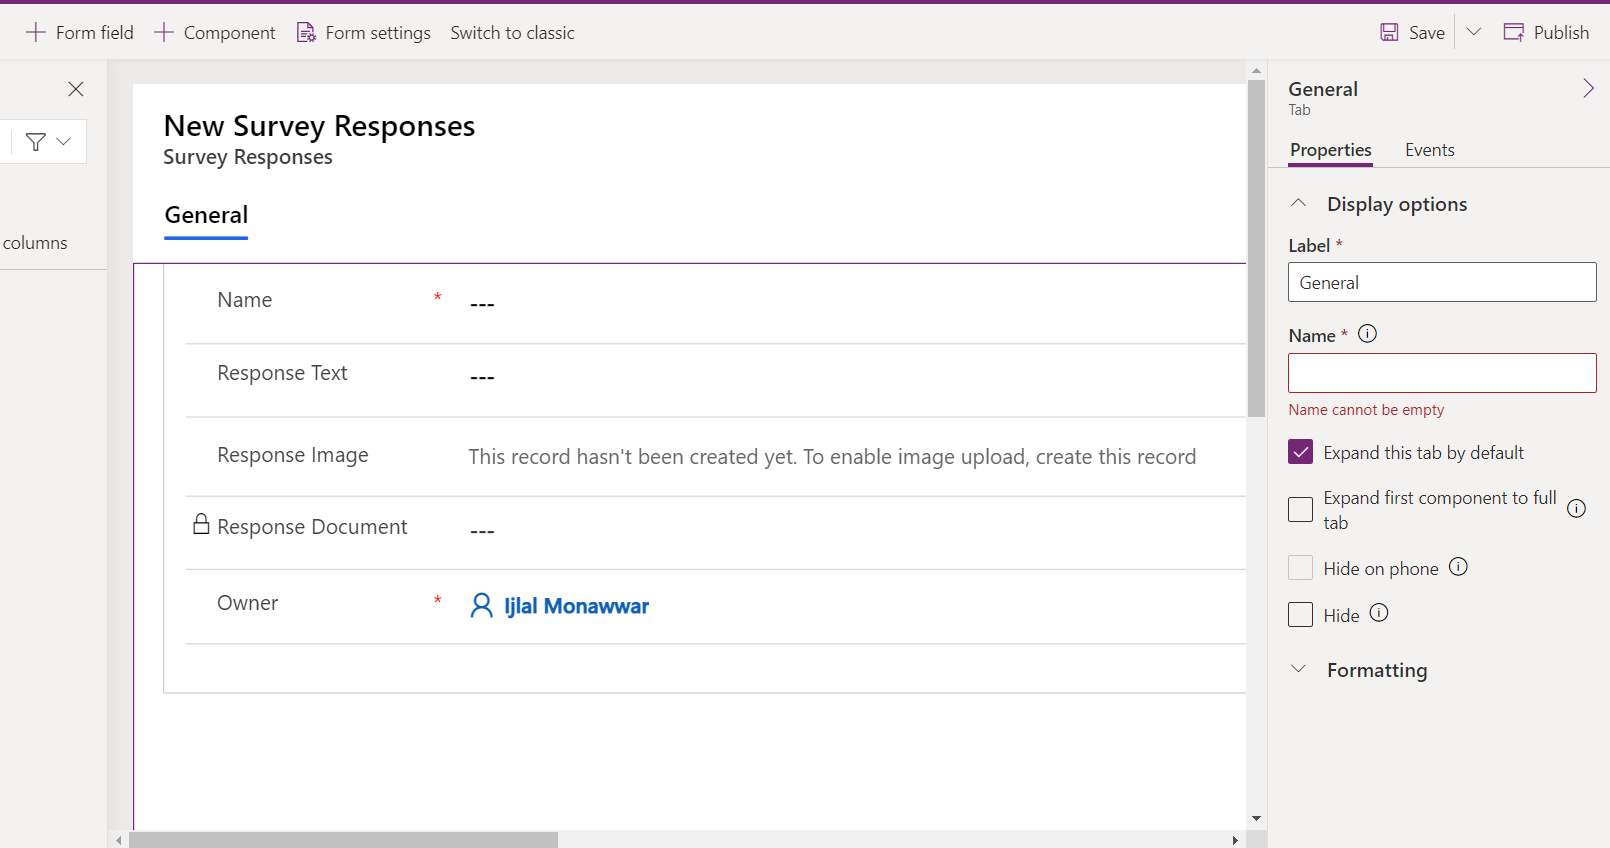
Taking one custom entity as an example –
Survey Response
Note: This is the entity’s form view
which has 5 fields including the name and the owner, and
I just created it randomly as a singular test entity to
serve the purpose of this demonstration.
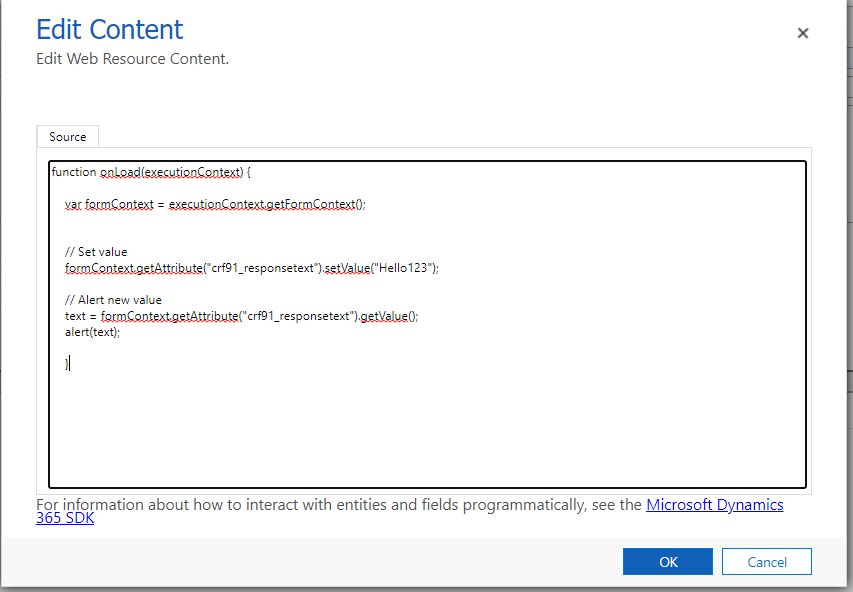
Now, open Visual Studio Code, write the script in the editor as shown below and save as a .js file.
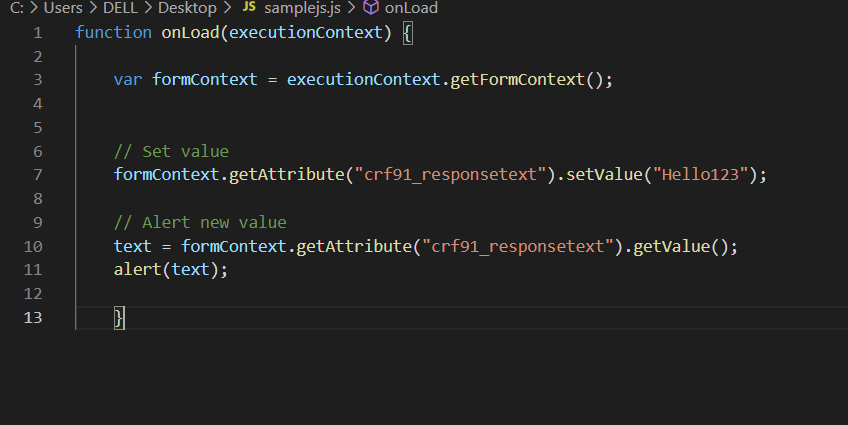
We are going to customize the OnLoad event of this form.
It means that the custom script is run when the form is
displayed. So for better understandability, I named the
function as onLoad and passed execution context as the
parameter which gets the context of the form we’re
currently working on.
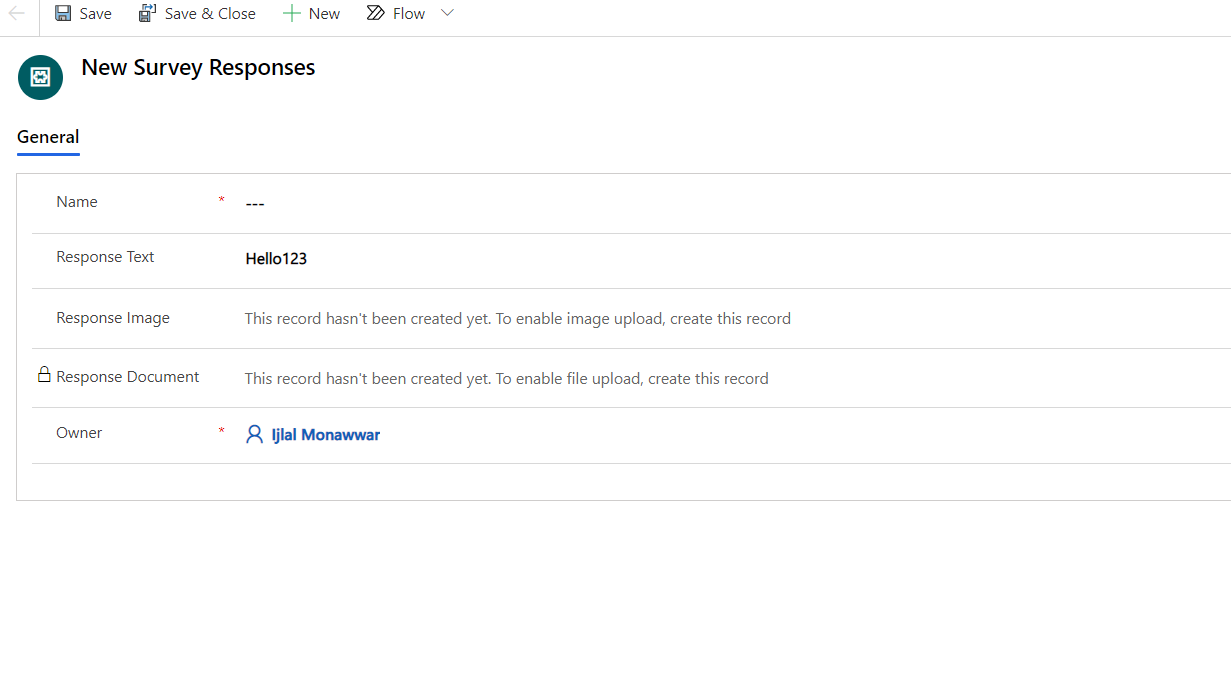
The function basically pre-populates the Response Text
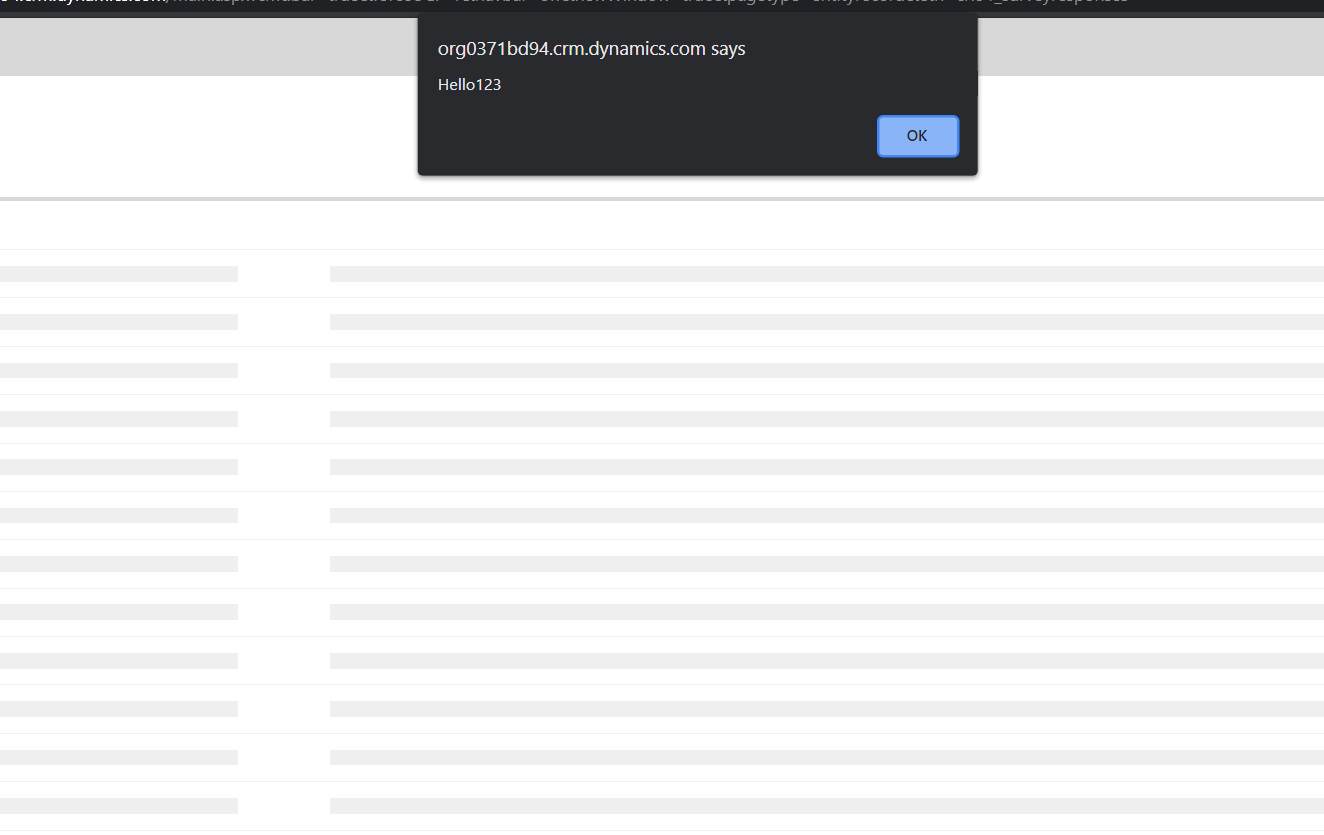
field in the entity with “Hello123” and shows an alert
dialog when the form is loaded for data entry.
To add a script file in the form, we go to the Events on
the General tab on the right hand side of the form
window.
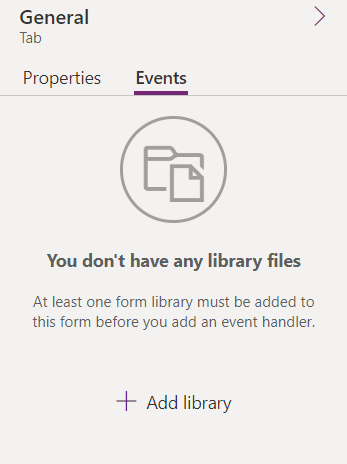
Now click on add library to add a web resource which would be the script file we just created.
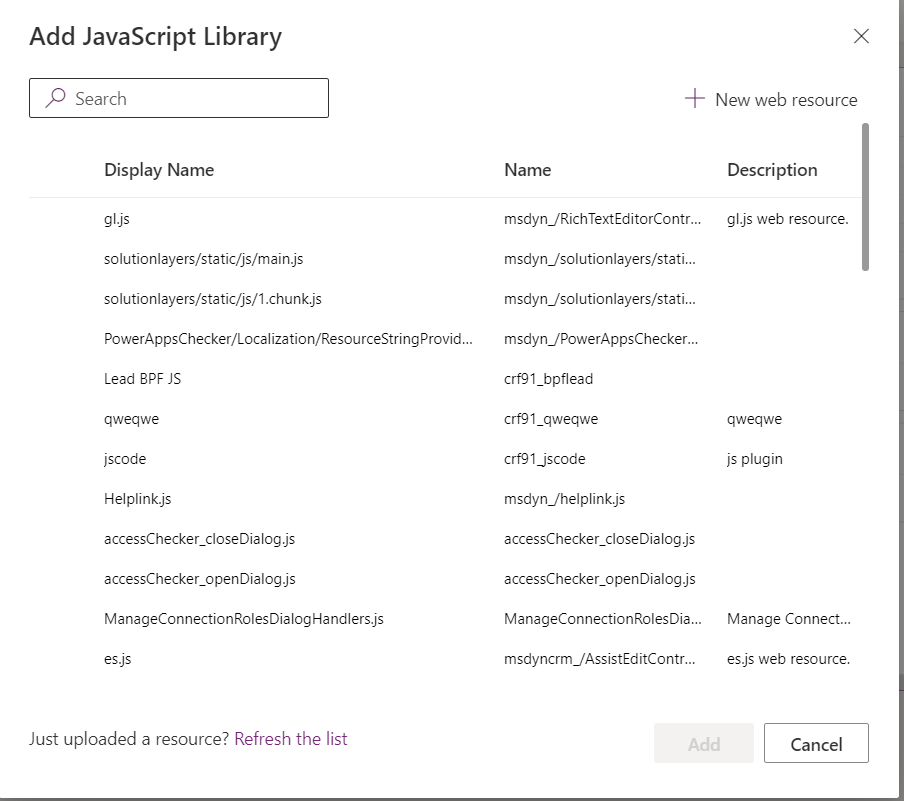
Write a name and the display name for the web resource and upload the js file which we created.
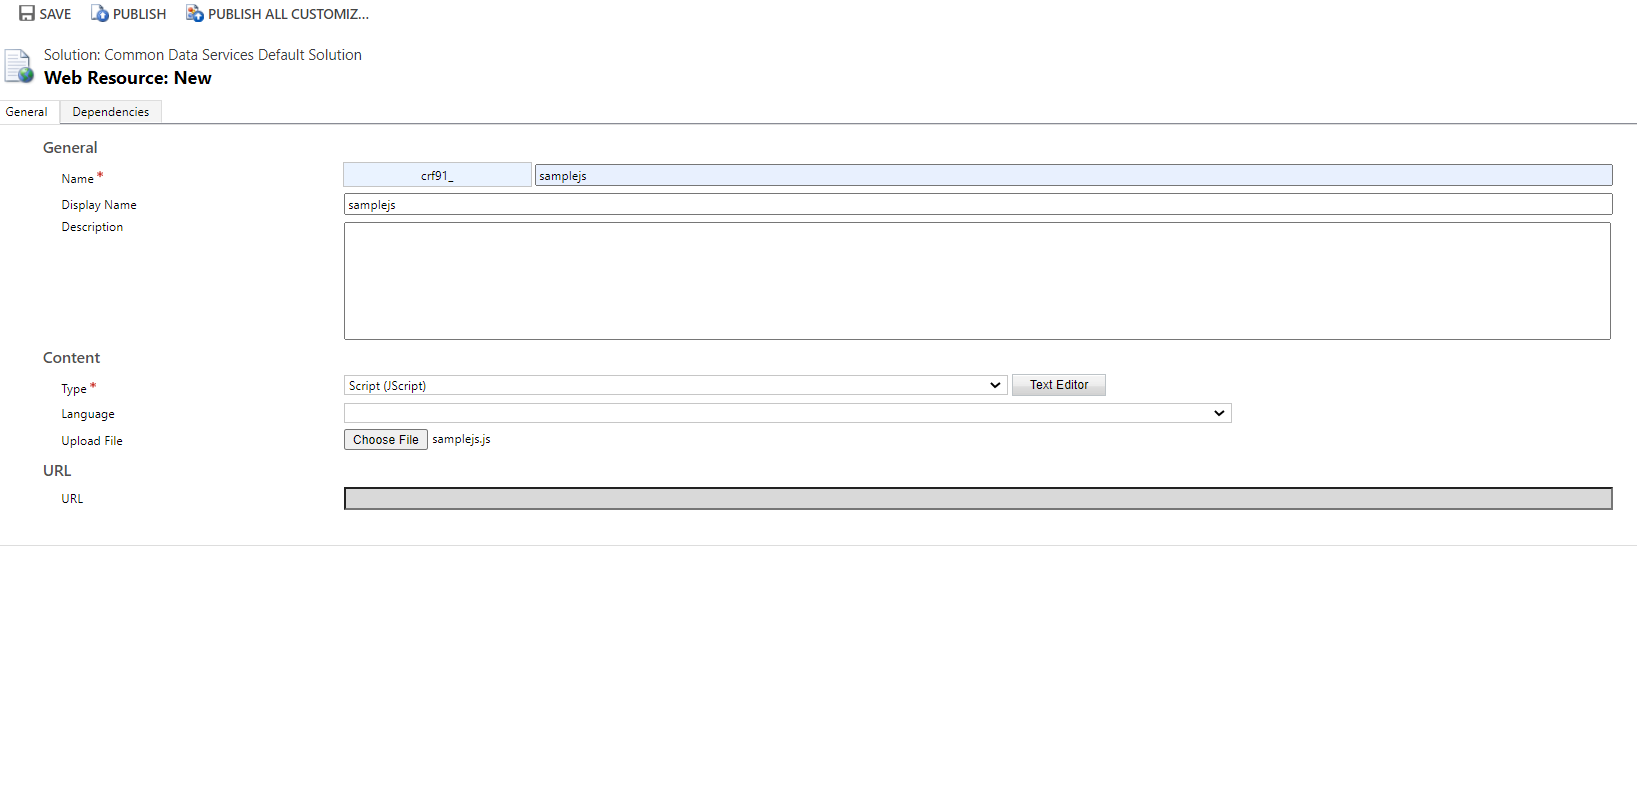
Click on Text Editor and paste the entire js script inside it. Click on OK and then Save and Publish All Customizations.
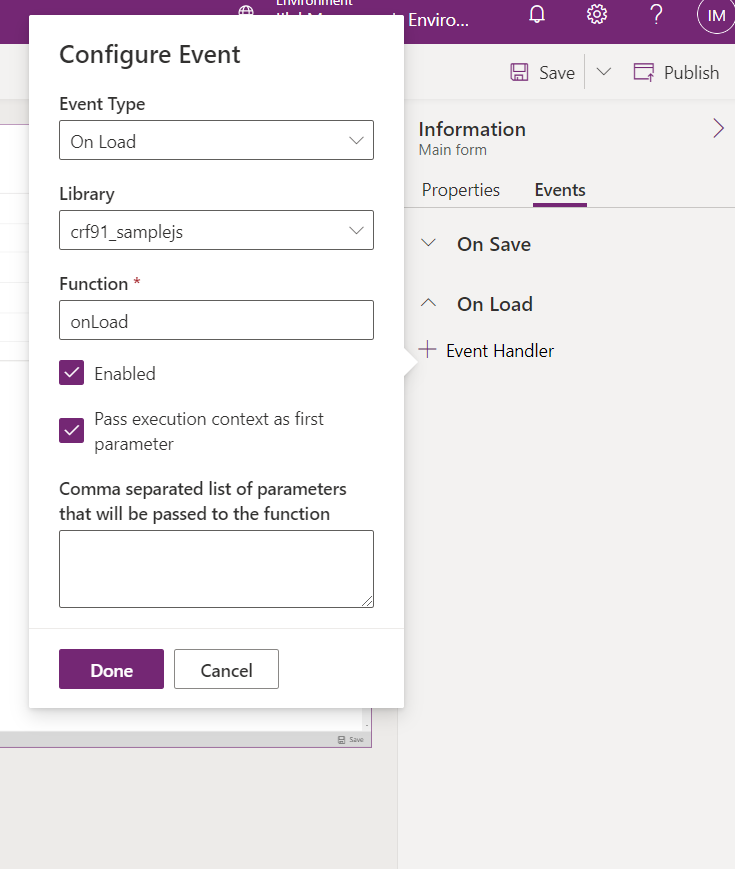
Now we head back to the main form and return to the Events in the General tab. We click on the On Load event handler and there we set the Event Type as On Load, and provide the function name in the js file, which in our case is also OnLoad. Also we enable Pass execution context from the form to the parameter of the function.
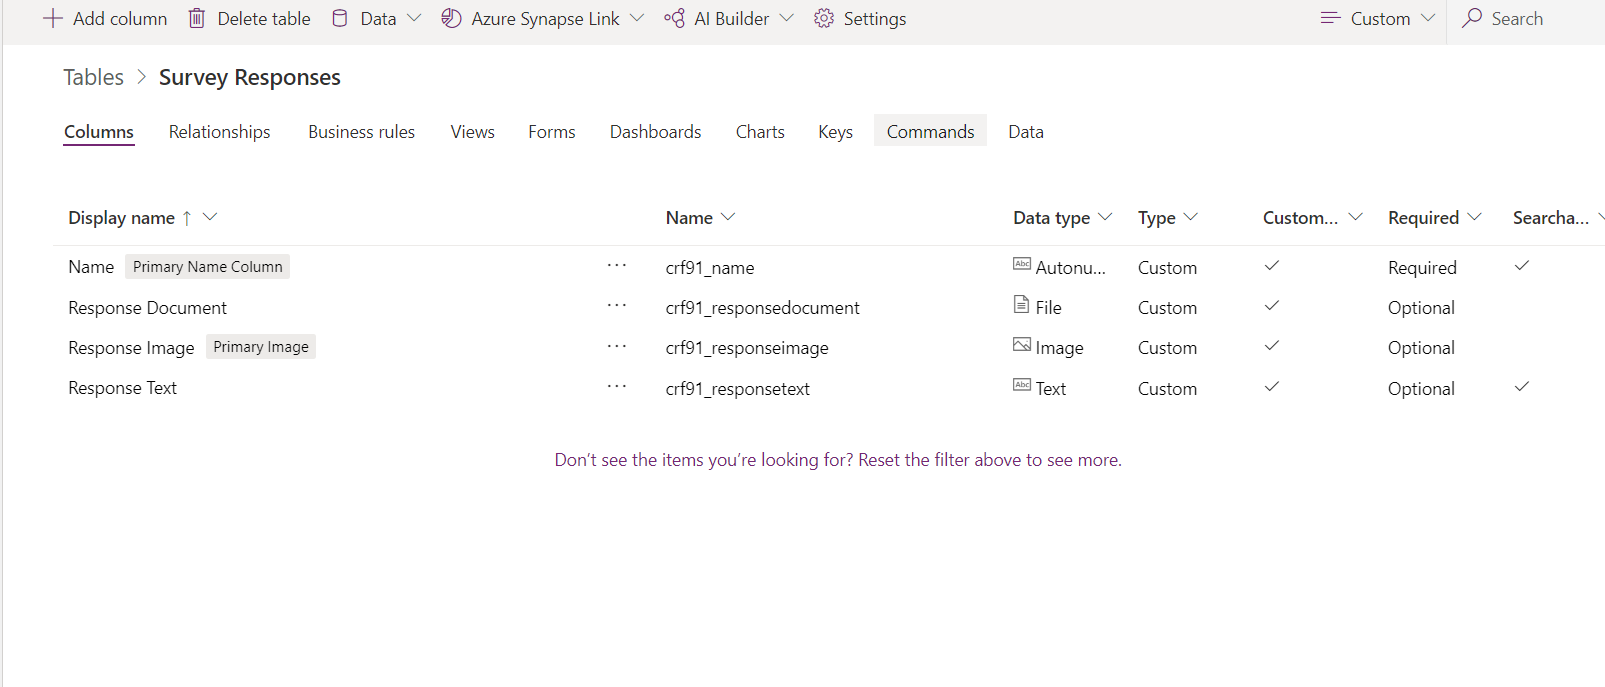
Now, after saving and publishing the form, we head back and create a record in the data tab.
After clicking on New Record, we see this alert box and after clicking OK, we observe that the Response Text field is automatically populated with “Hello123”.
So, to conclude, we saw how to add a custom js file to an entity form and preset field values when the form is loaded.
Join us next time, as we continue our journey of learning canvas apps.Click here to learn more about Imperium's Power Apps Services. We hope this information was useful, and we look forward to sharing more insights into the Power Platform world.

