| Muhammad Uzair
Migration of Portal App to Different Environment
This blog will explain the procedure one has to go through to perform migration of portal app from one environment to another environment.
We will be migrating questionnaire portal from imperium dynamics (default) environment to Muhammad Uzair`s Environment.
Step-1
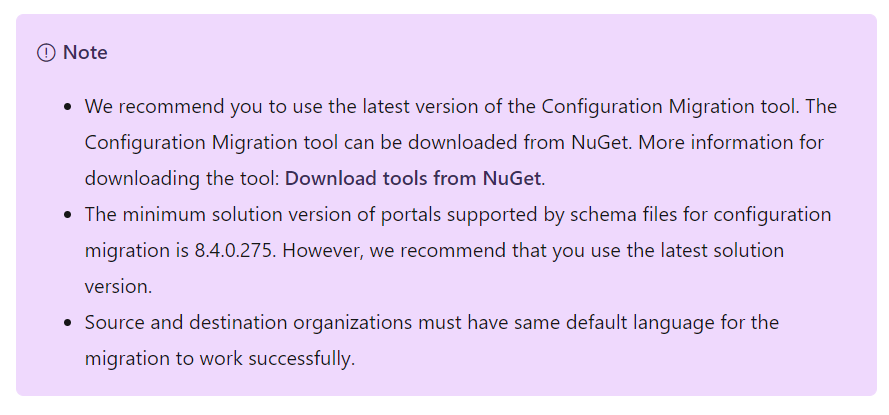
Download custom portal (blank portal) from MS Doc.

Step-2
Click on the Download tools from NuGet from MS Doc and it will redirect to the page Download tools using PowerShell.
Step-3
Click on copy that will copy all the script in the written in the container.
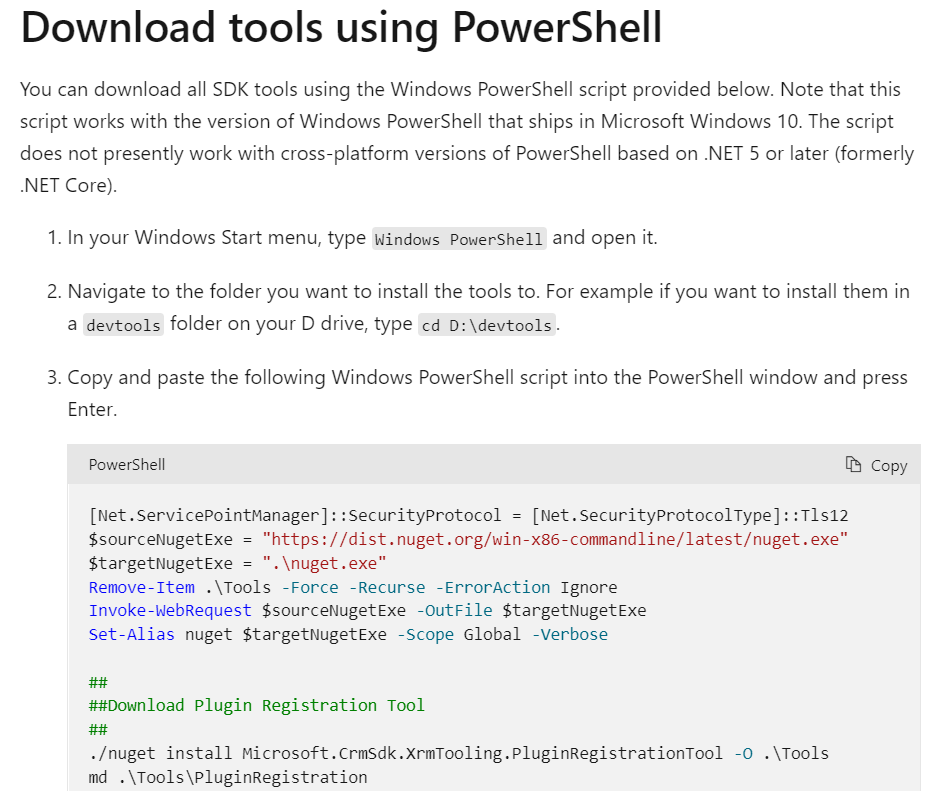
Paste the script in the Windows PowerShell and press enter.
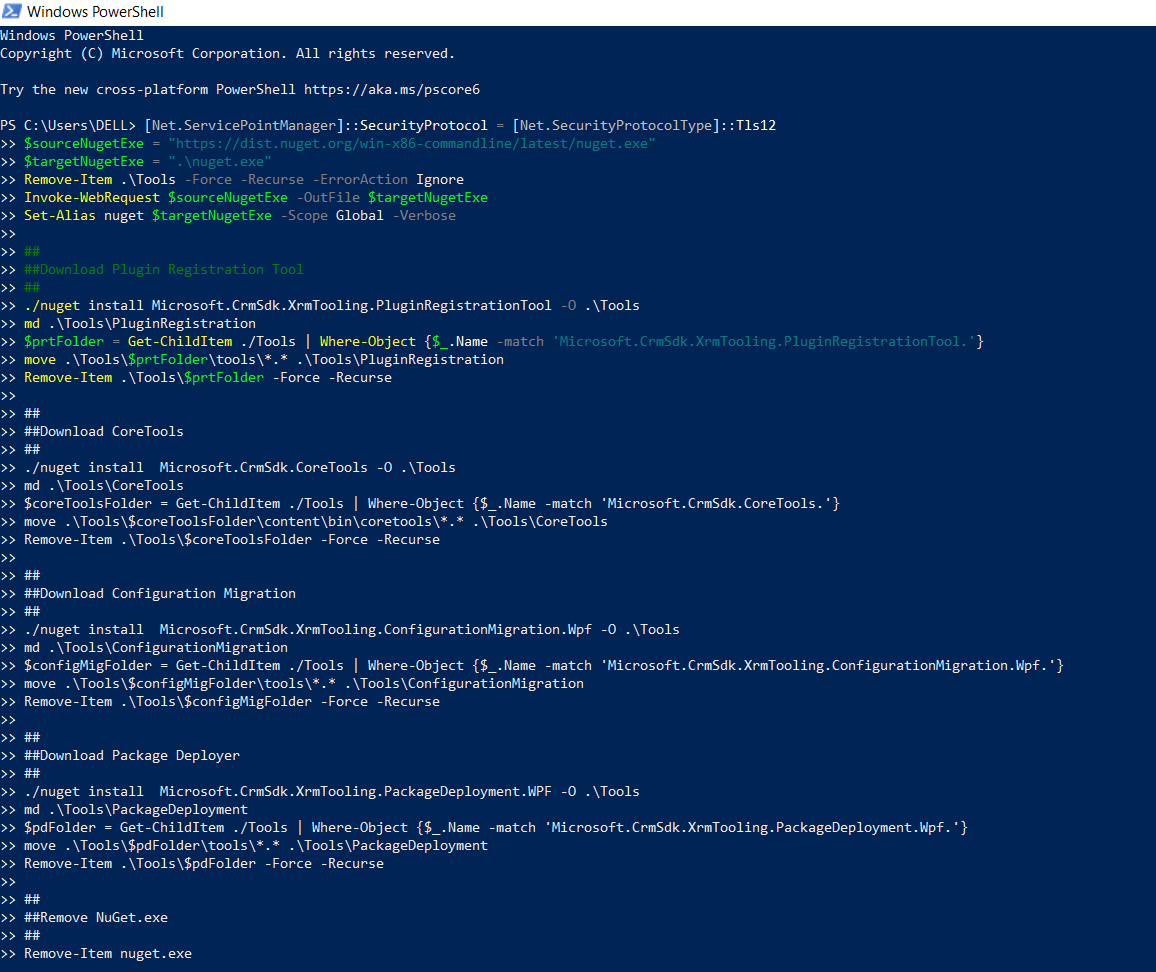
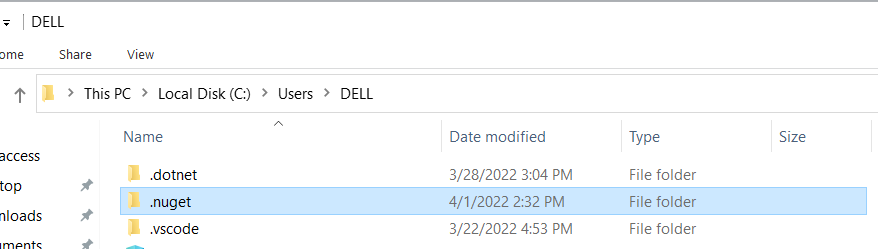
This will create .nuget folder in the path where you run the script in Windows PowerShell, in our case it would be C:\Users\DELL\.nuget
Step-4
Open the DataMigrationUtility from the path “C:\Users\DELL\.nuget\packages\microsoft.crmsdk.xrmtooling.configurationmigration.wpf\9.1.0.80\tools”.

Step-5
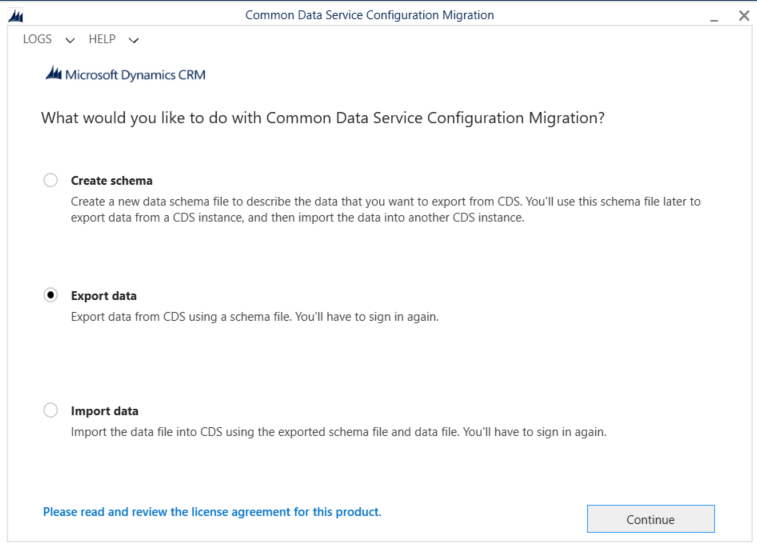
Select the Export data and click continue.
Select the Sign in as current user and click login.
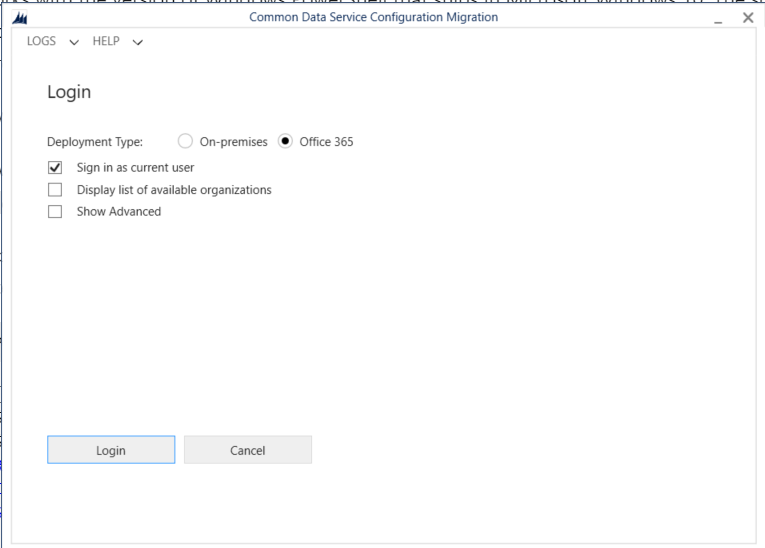
Note: If it gives an error then just selects the Display list of available organizations and click login and it will pop up the screen where you can sign in with your Microsoft credentials.
Step-6
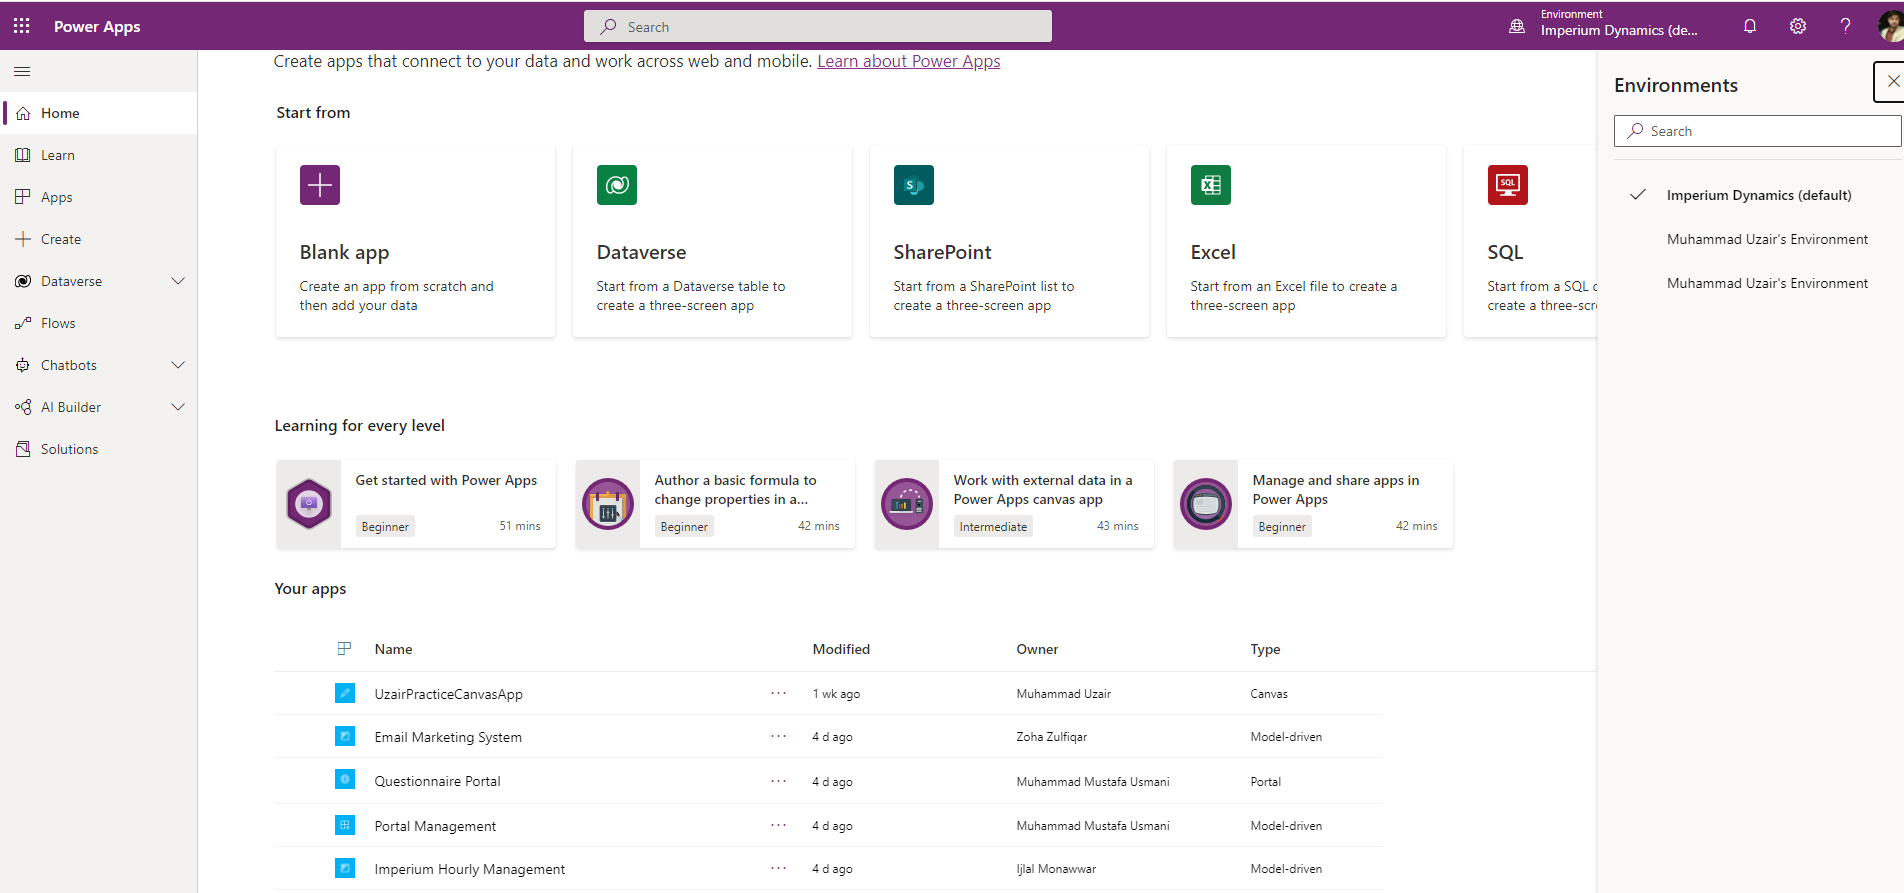
Now list of the available environments will be displayed once you logged in.
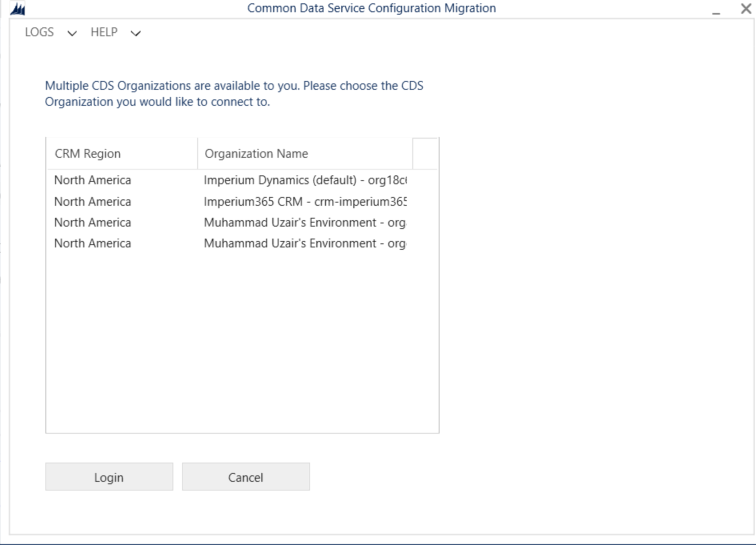
Step-7
Select the environment where we have the portal app that we want to migrate from the environment. In our case, select Imperium Dynamics (Default) and click login.
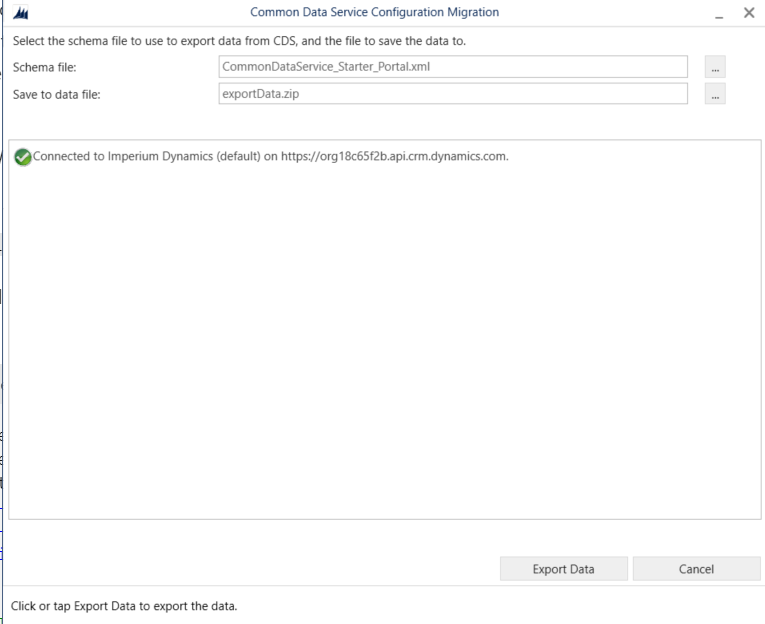
Step-8
In the Schema file, select the file; Custom portal (blank portal) and in the save to data file, name the zip file in which all imperium dynamics (default) environment data will be exported and click export.
Step-9
Once the data has been exported
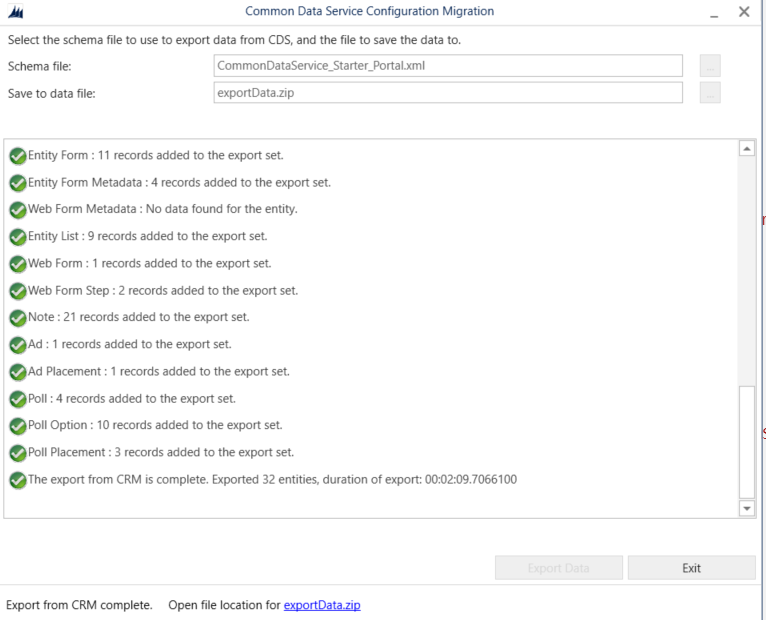
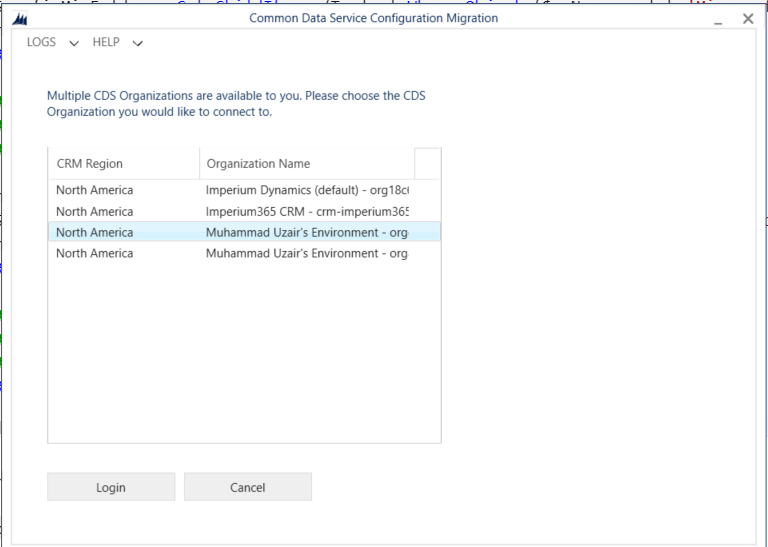
Now go back and select import data and click continue.

Perform the same login procedure was performed in the export procedure. After logged in, now this time select the environment where you want to migrate your portal app and click login. In our case, Muhammad Uzair `s environment.
Step-10
Select the file which we have exported in the zip format before and click import data.
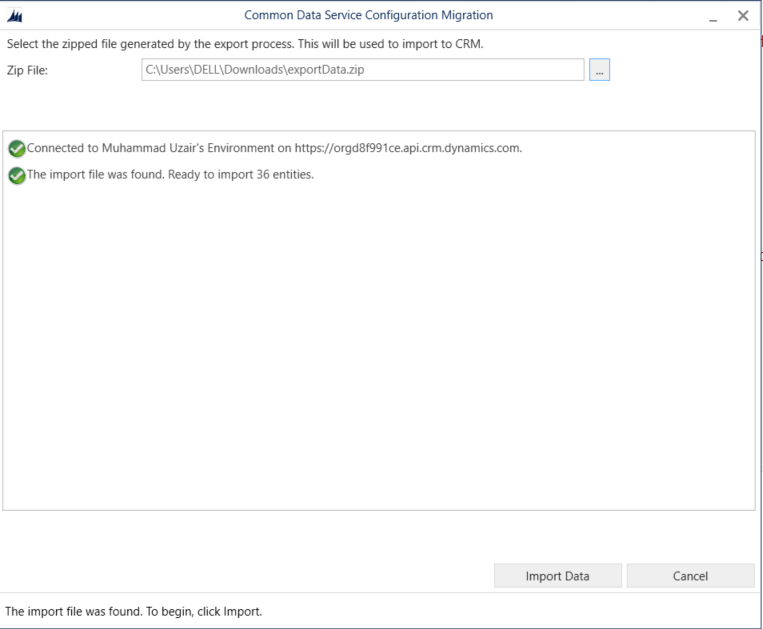
Step-11
Once import data will be complete. Go to Power Apps in the target environment and select blank app.
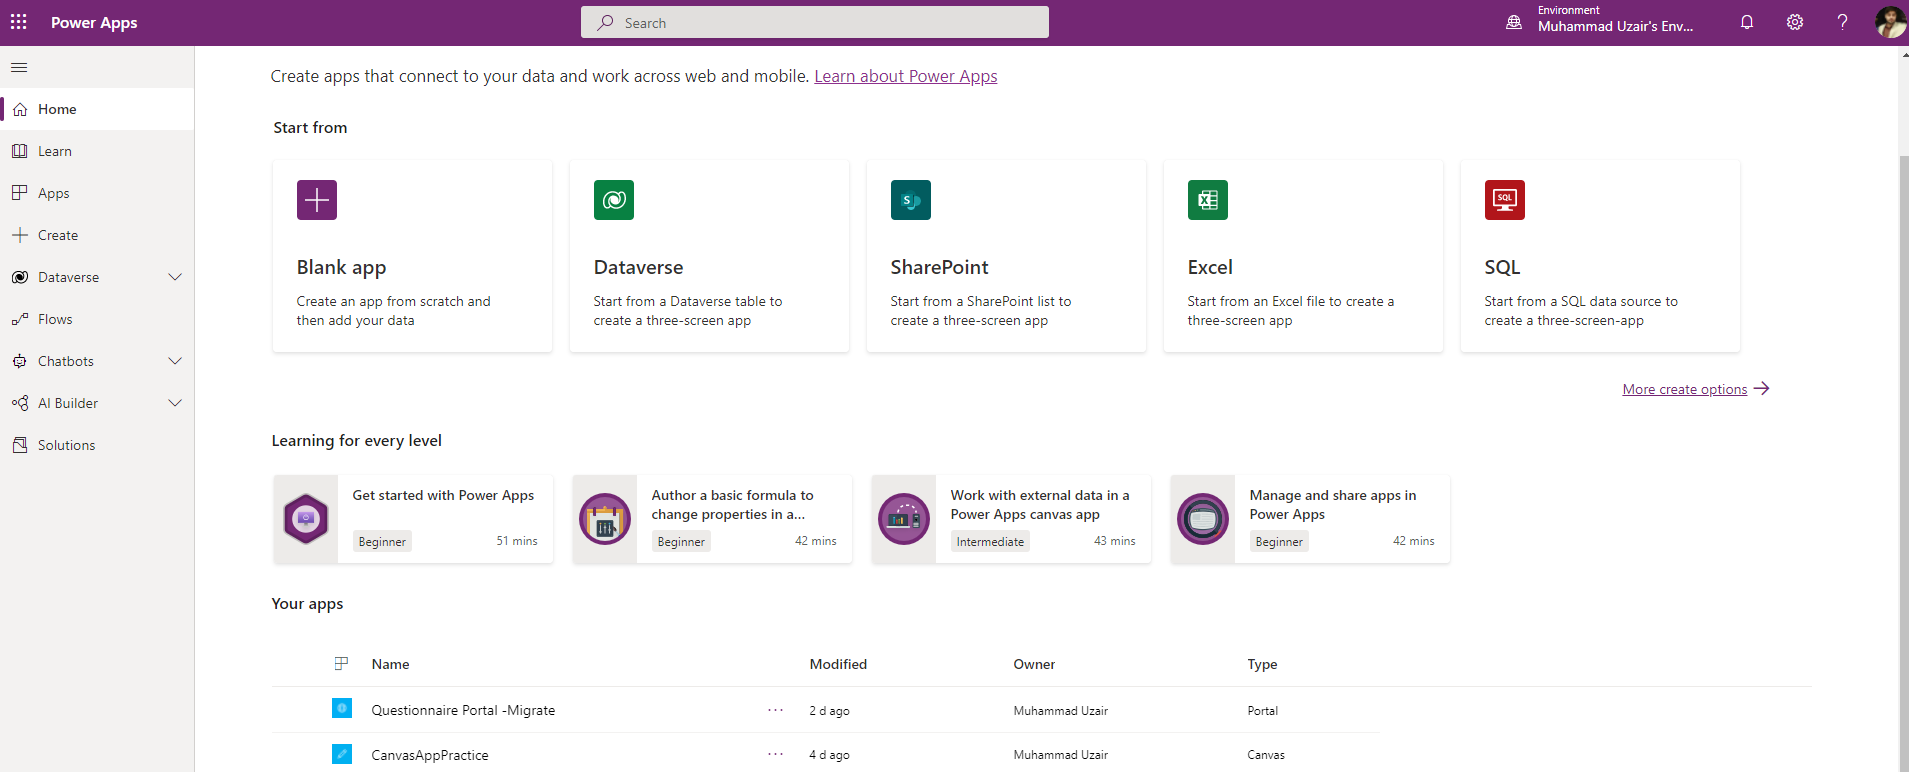
Select blank website and click create.
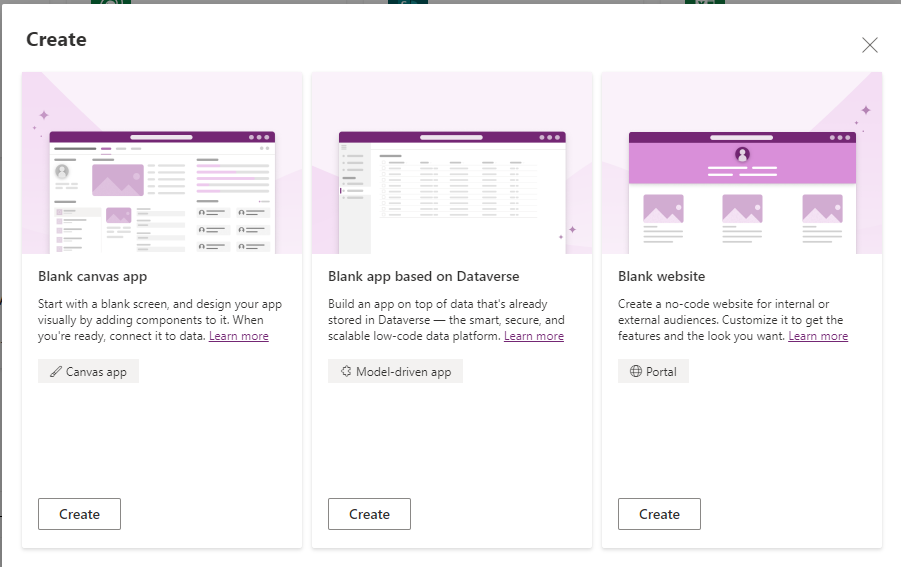
Provide the required information about the website and select “Use data from existing website record” and select the questionnaire portal option in under the label “Start with data from this website record” and click create.
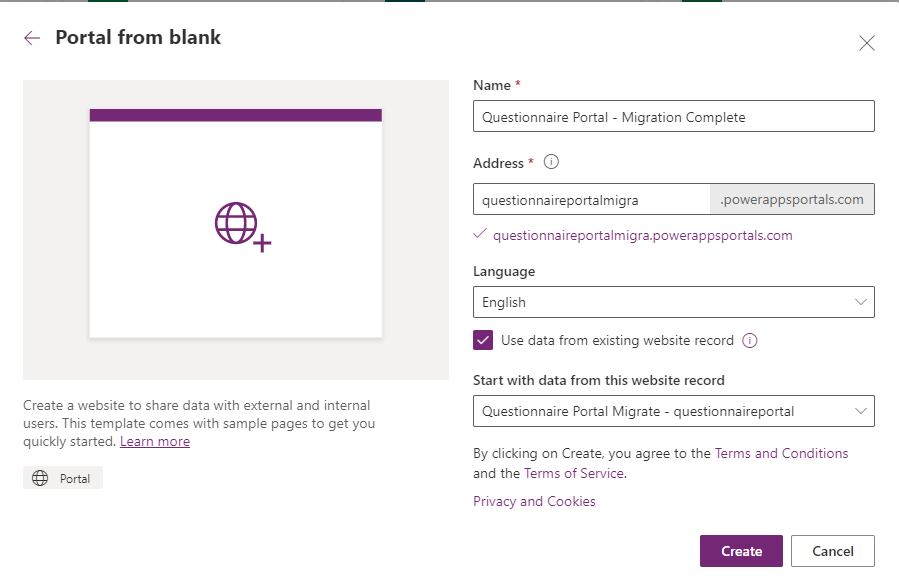
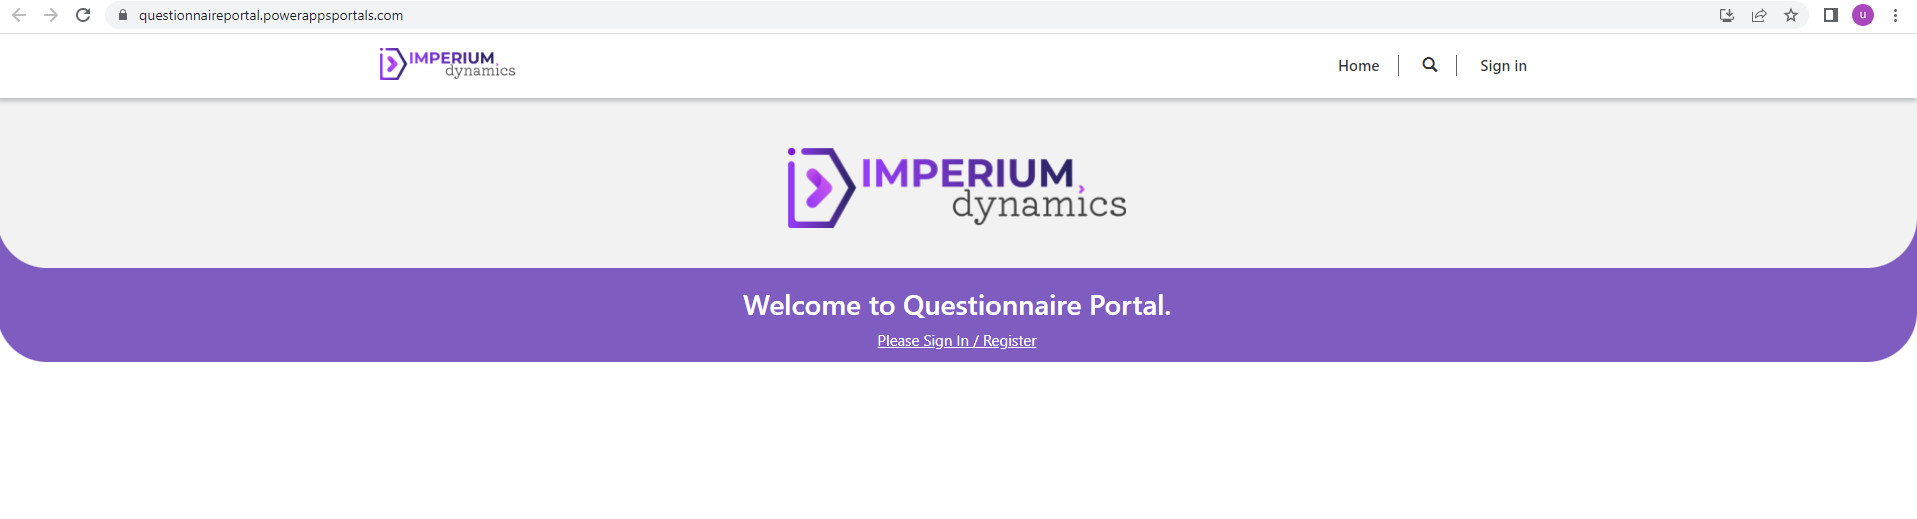
Once the portal will be created, go to Apps and select the browse option in the portal options.
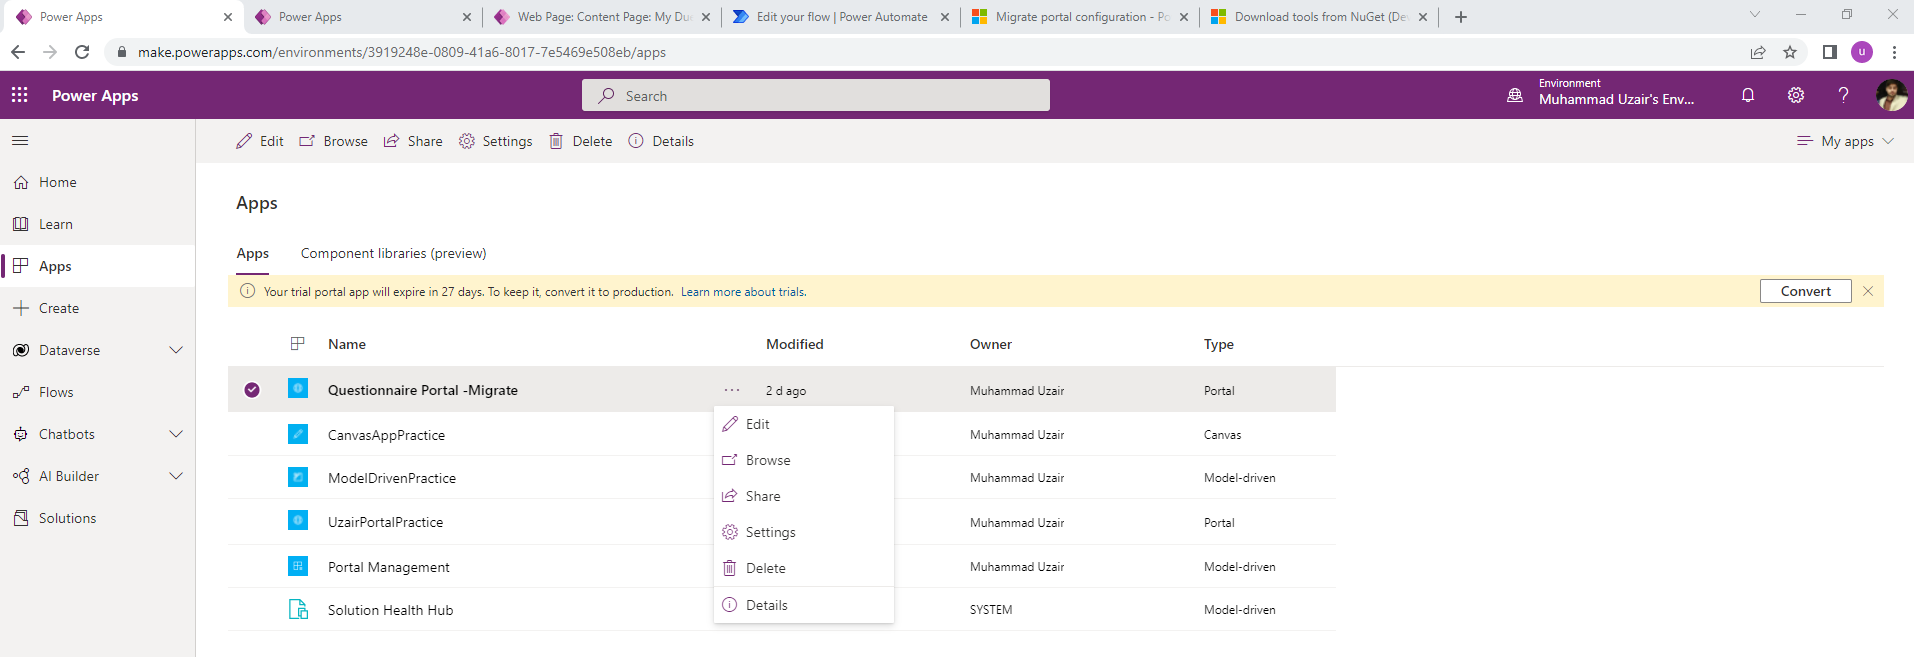
You will see the migration has been completed.
Join us next time, as we continue our journey of learning canvas apps.Click here to learn more about Imperium's Power Apps Services. We hope this information was useful, and we look forward to sharing more insights into the Power Platform world.