| Ijlal Monawwar
Add Word Templates to Model Driven Apps
Document templates offer flexibility to our model driven apps by providing a report of a record or a list of records. They can be used to populate data in a word document for emailing or printing for example a generated quote or an invoice to a client. Another example of its usage would be if we wanted to remind an account of all their opportunities and the associated proposed budgets.
How to create a Microsoft Word Template
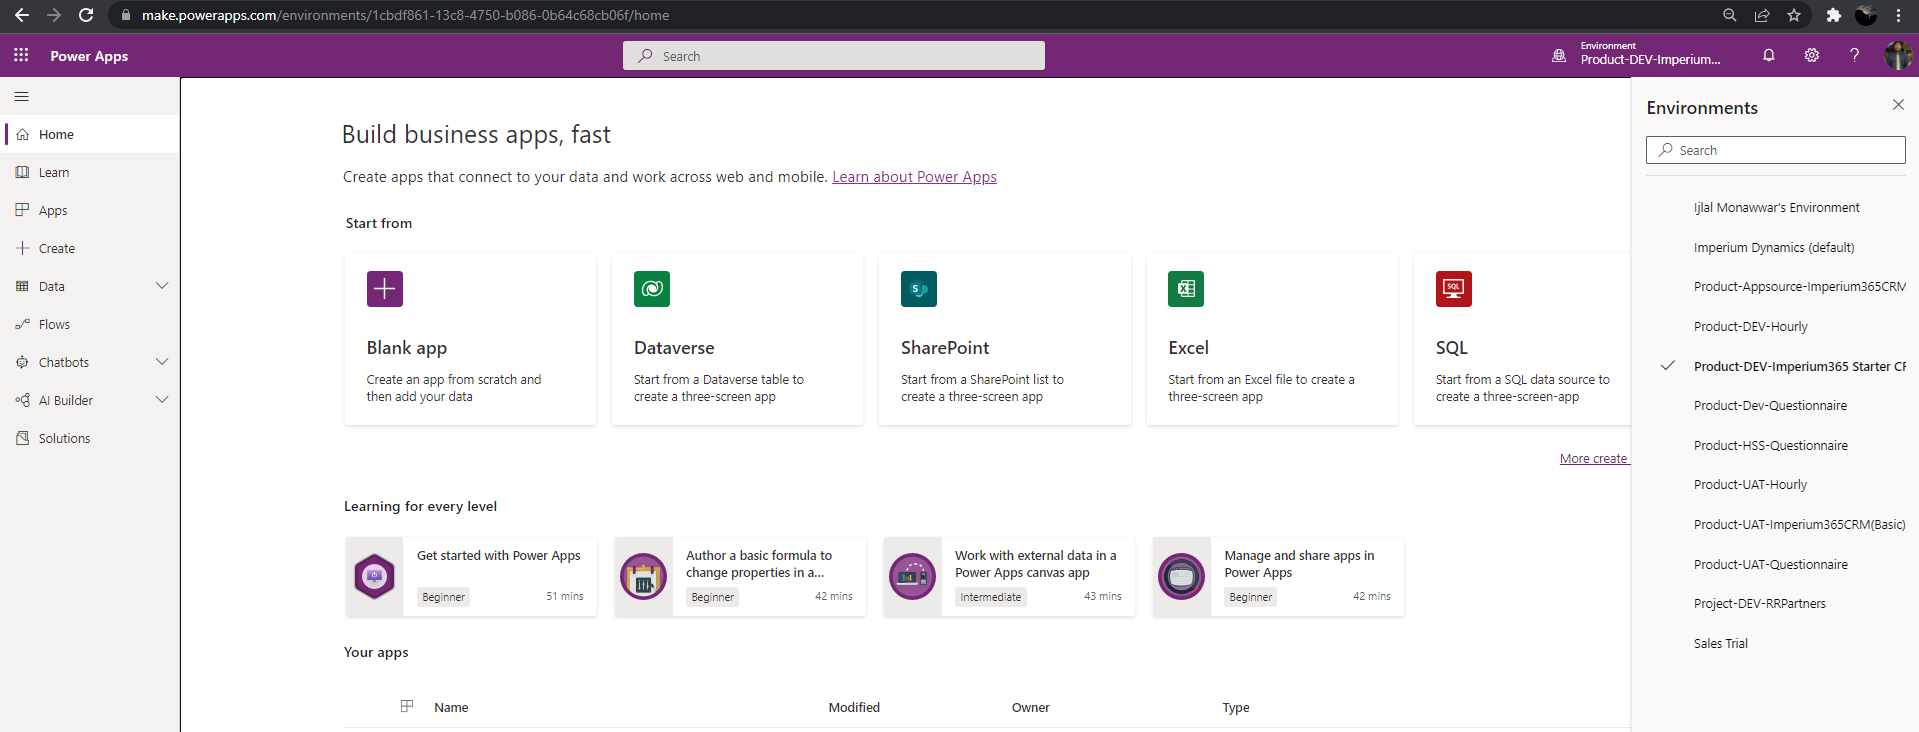
Head over to make.powerapps.com and select your environment in which you want to create your word template.
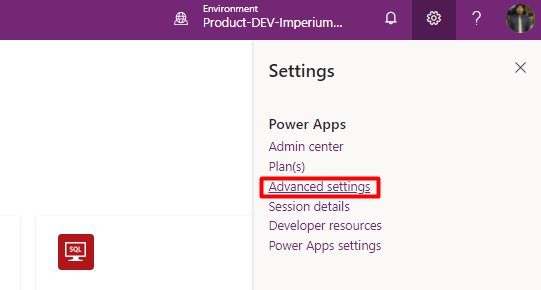
Next, we head over to Advanced settings for our environment.
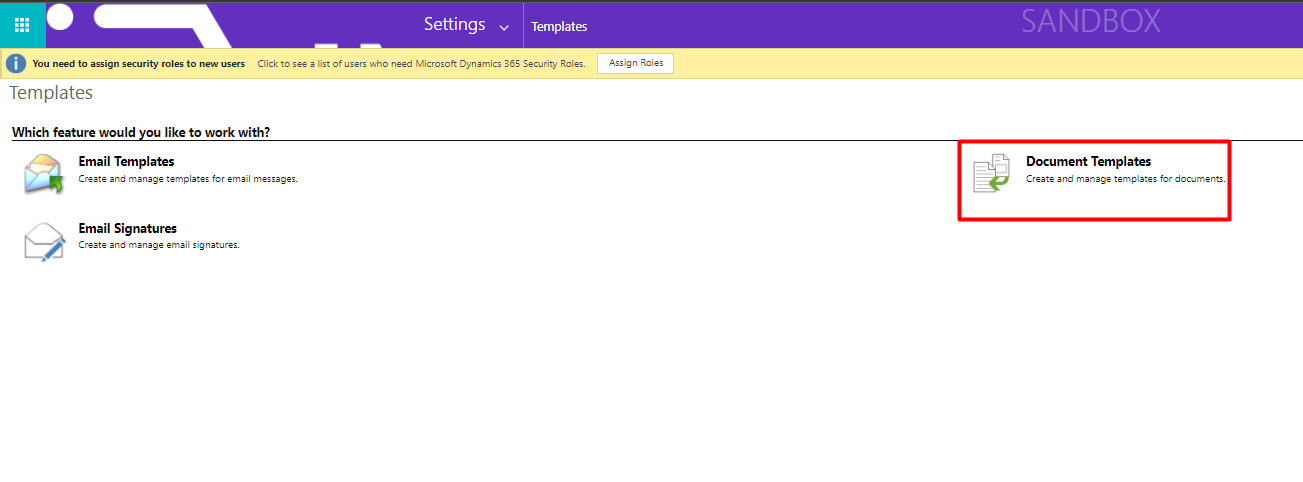
Under the Settings flyout menu, select Template under the Business group and then select Document Templates.

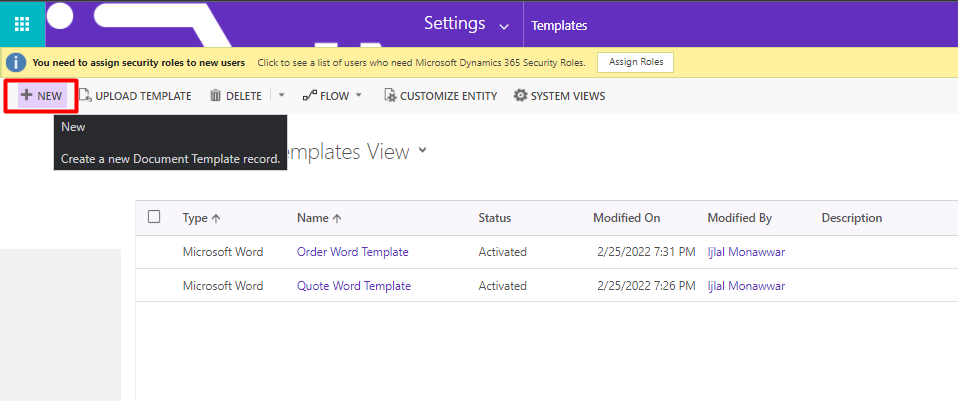
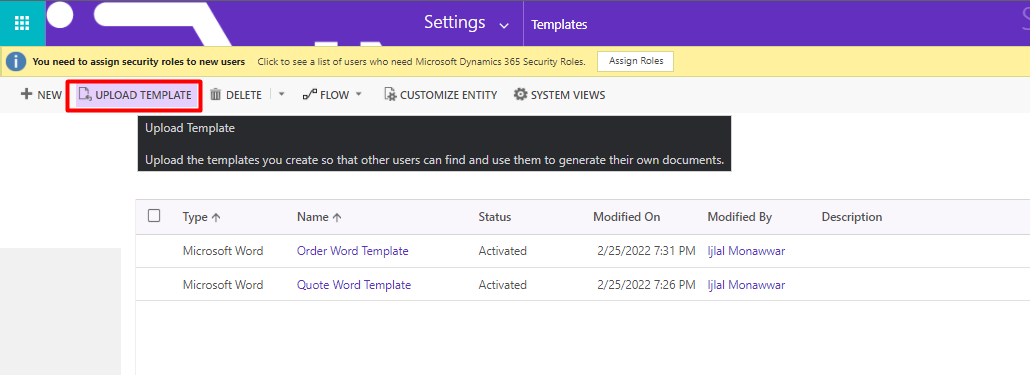
Clicking it will show us the existing word templates list view in our environment. We can also see a toolbar of functional buttons which we can use to create, delete, or upload templates. We click on the (+New) button to create our template.
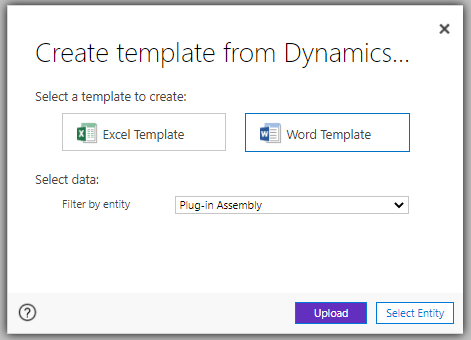
Now we see a dialog which asks us to select the type of template and then subsequently choose the entity which we want to generate our template on. We click on the “Select Entity” button after we have made our choice.
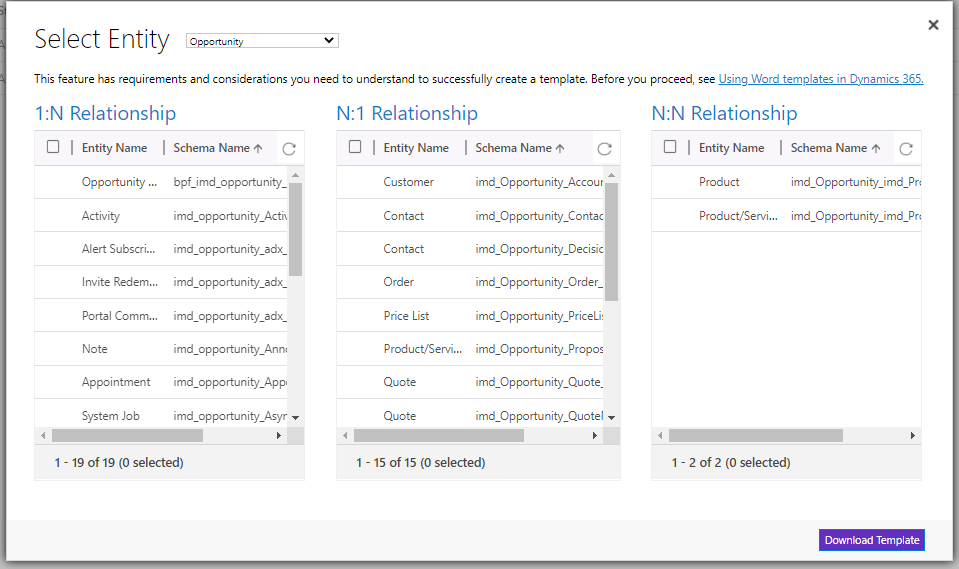
Now we will be shown multiple entities and their relationship types that are related to our selected entity in the previous step. They can be selected if we want related data from their entities in our template. After making our selection for the linked entities, we hit “Download Template.”
After opening the downloaded template, we need the developer tab to be available on our Word application. If not, visible we can enable it by following the steps below:
- On the File tab, go to Options > Customize Ribbon.
- Under Customize the Ribbon and under Main Tabs, select the Developer check box.

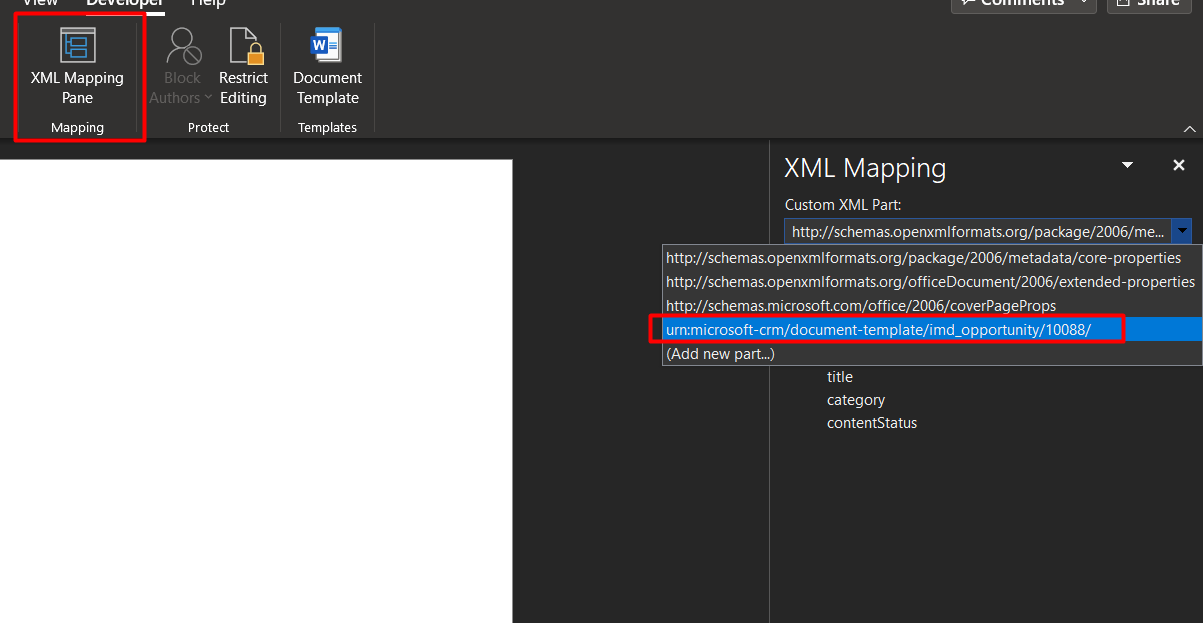
Once enabled, we head over to developer tab and select XML Mapping Pane and then select the following urn:microsoft-crm/document-template option below:
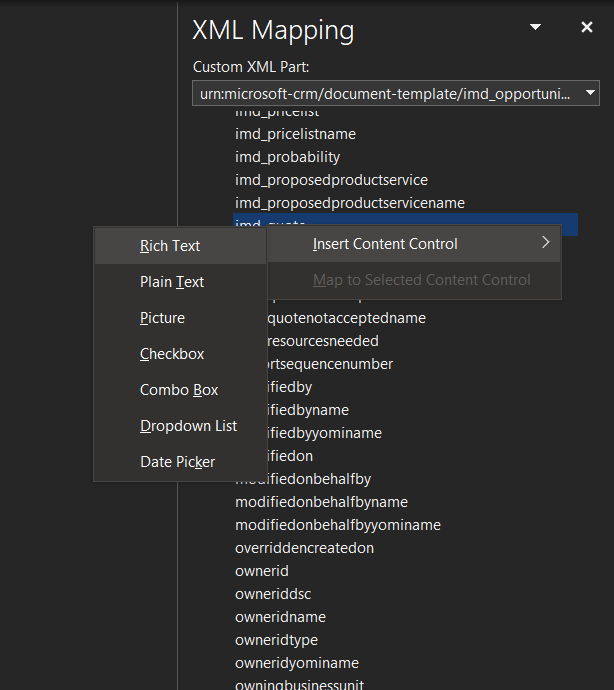
Selecting it would allow us to view all the entities and their respective column attributes which we can drop on our word file. We can also specify how it would appear on the word template by right clicking the field and selecting the format.

Finally, after customizing our word template, we can save it then upload it on the template view page in the advanced settings. We can then download the template from the selected entity form which is the opportunity form in my case.
Join us next time, as we continue our journey of learning canvas apps.Click here to learn more about Imperium's Power Apps Services. We hope this information was useful, and we look forward to sharing more insights into the Power Platform world.