| Mohsin Ahmed
In the last part of this blog series, we built our first ALM pipeline for Power Platform. That pipeline was meant to export a solution from our sandbox environment and check it into our source control repository. In this blog, we will be continuing from where we left off and start building another pipeline. This pipeline would take the code from source control repository as input source and import it into our test or production environment. We could have also done all these tasks in one single pipeline, but it makes more sense to split these tasks into two pipelines. We primarily want to separate the tasks related to pushing our solution to source control because most users will most likely want to do that on a regular basis, while the other pipeline which deploys the solution to test/production environment will be executed rather occasionally.
So, let’s get started with building the deployment pipeline!
First step is to create a new pipeline and name it according to its function. We will be using the same steps as we have used in the previous blog.
Following are the steps taken to get the result shown in the accompanying screenshot:
- New pipeline
- Use the classic editor
- Select Azure Repos Git, then select the same repository which you used for building your previous pipeline (the one where we pushed our sandbox environment solution source code to GIT repository)
- Create an empty job
- Name the pipeline
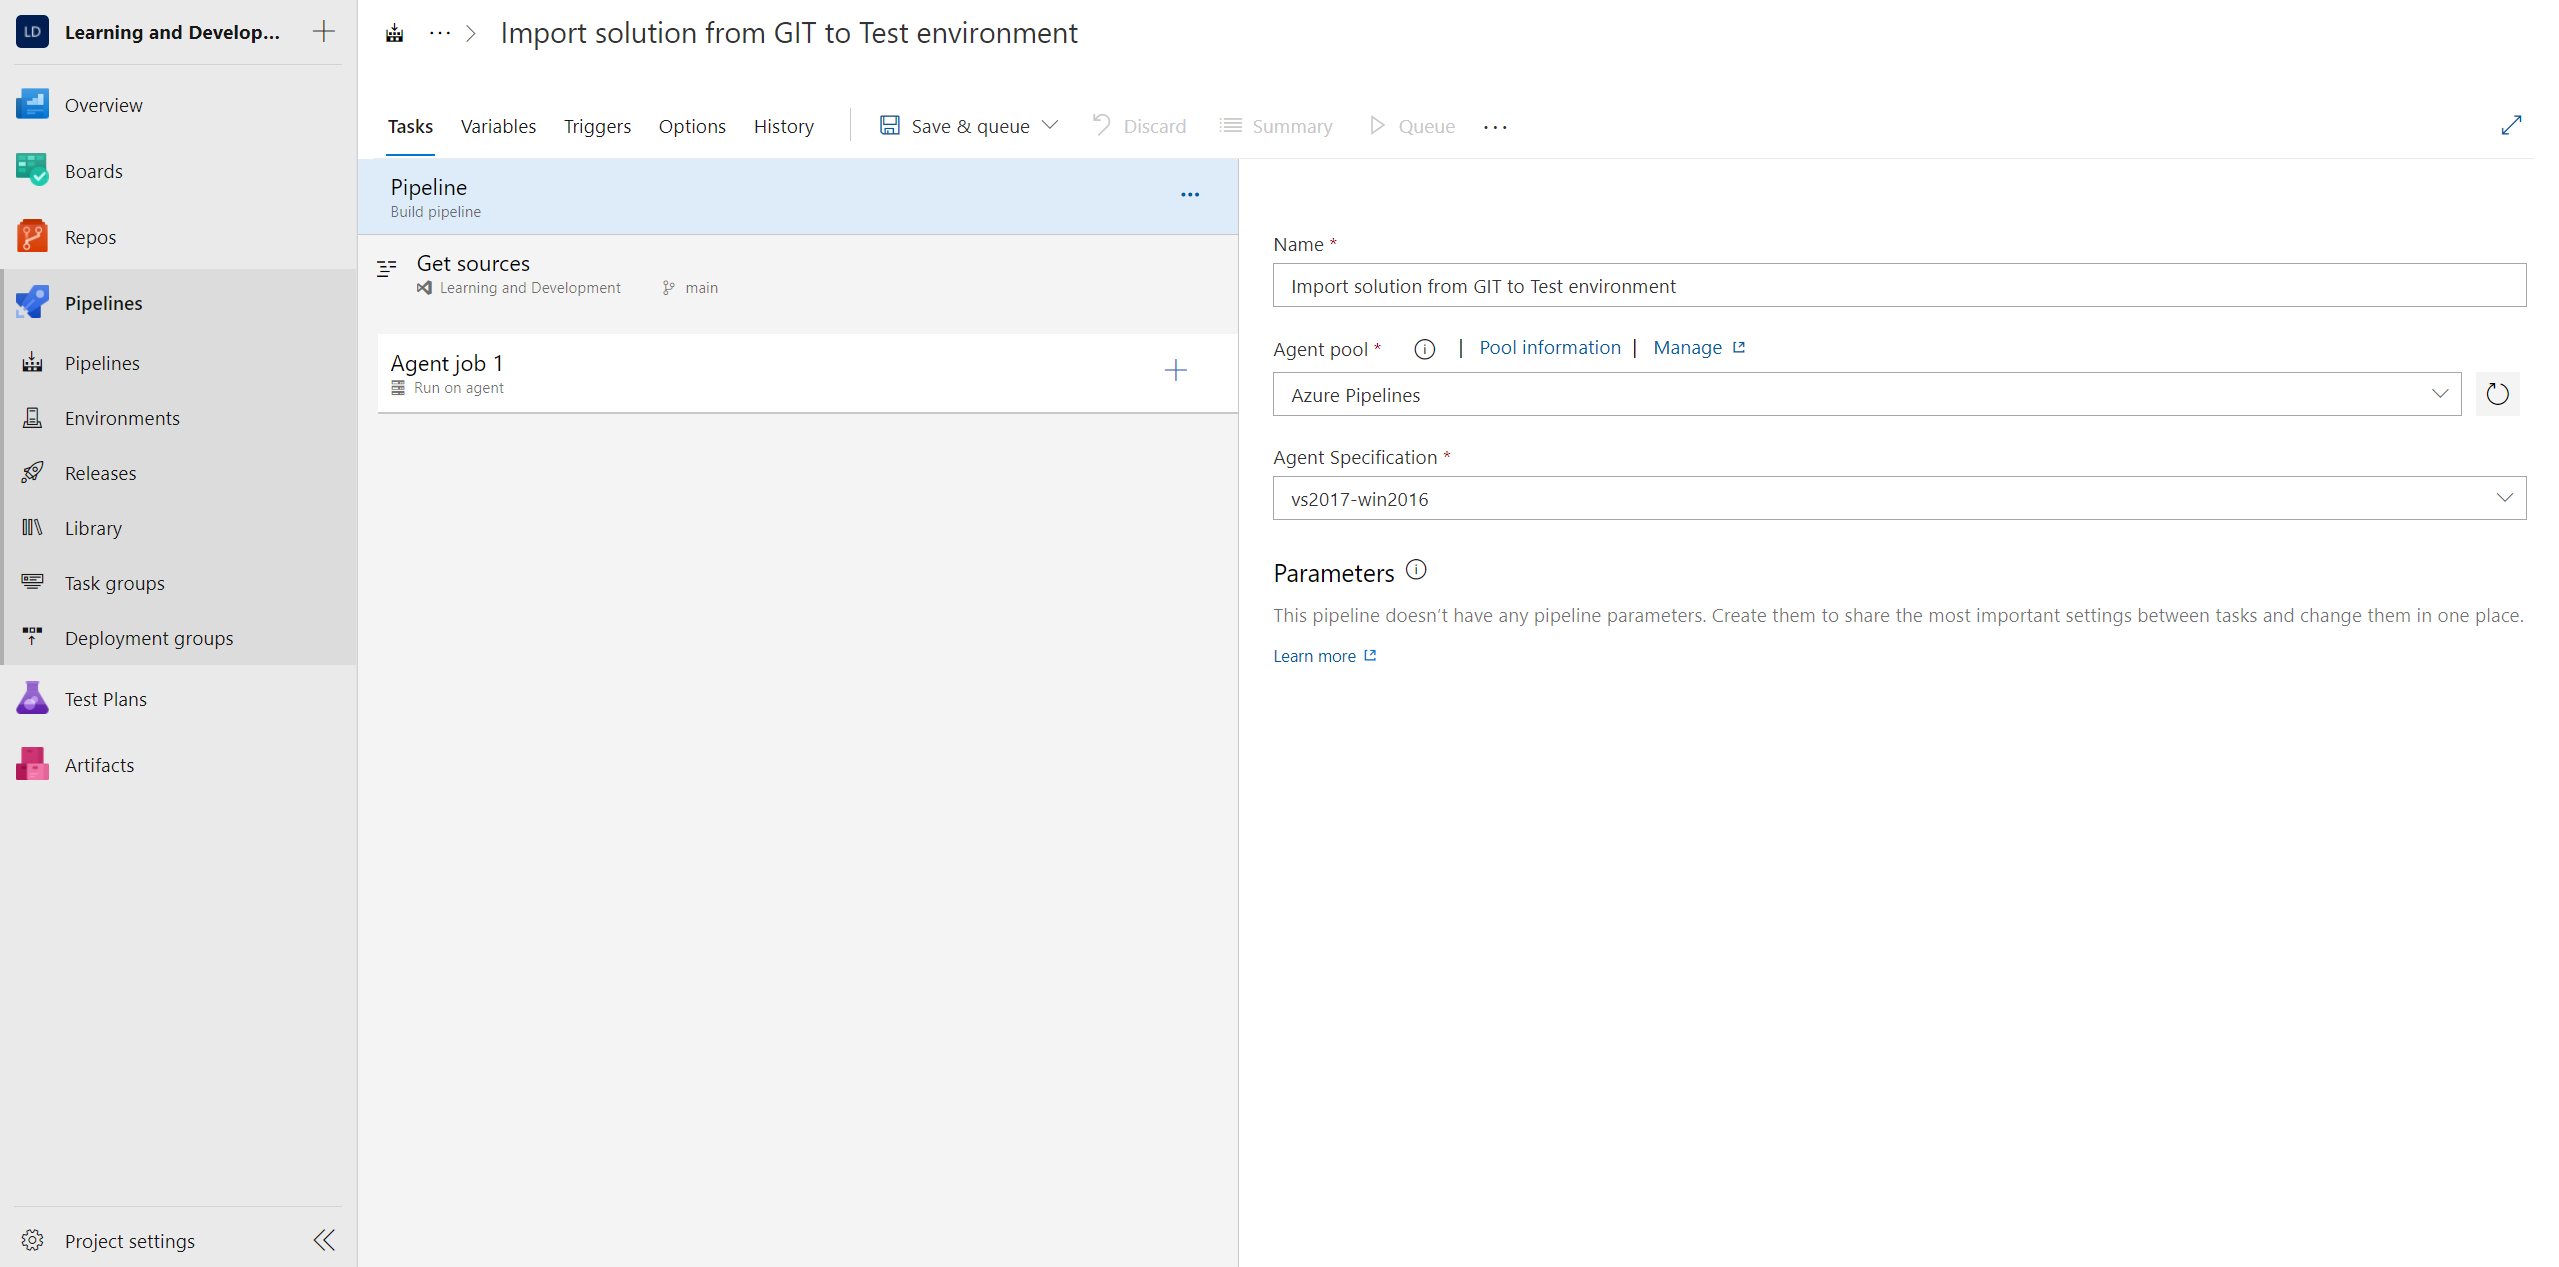
Again, the pipeline will spin up a temporary virtual machine. Add the PowerApps Tool Installer task to install the tools. This step is identical to the first step we added to our previous pipeline.
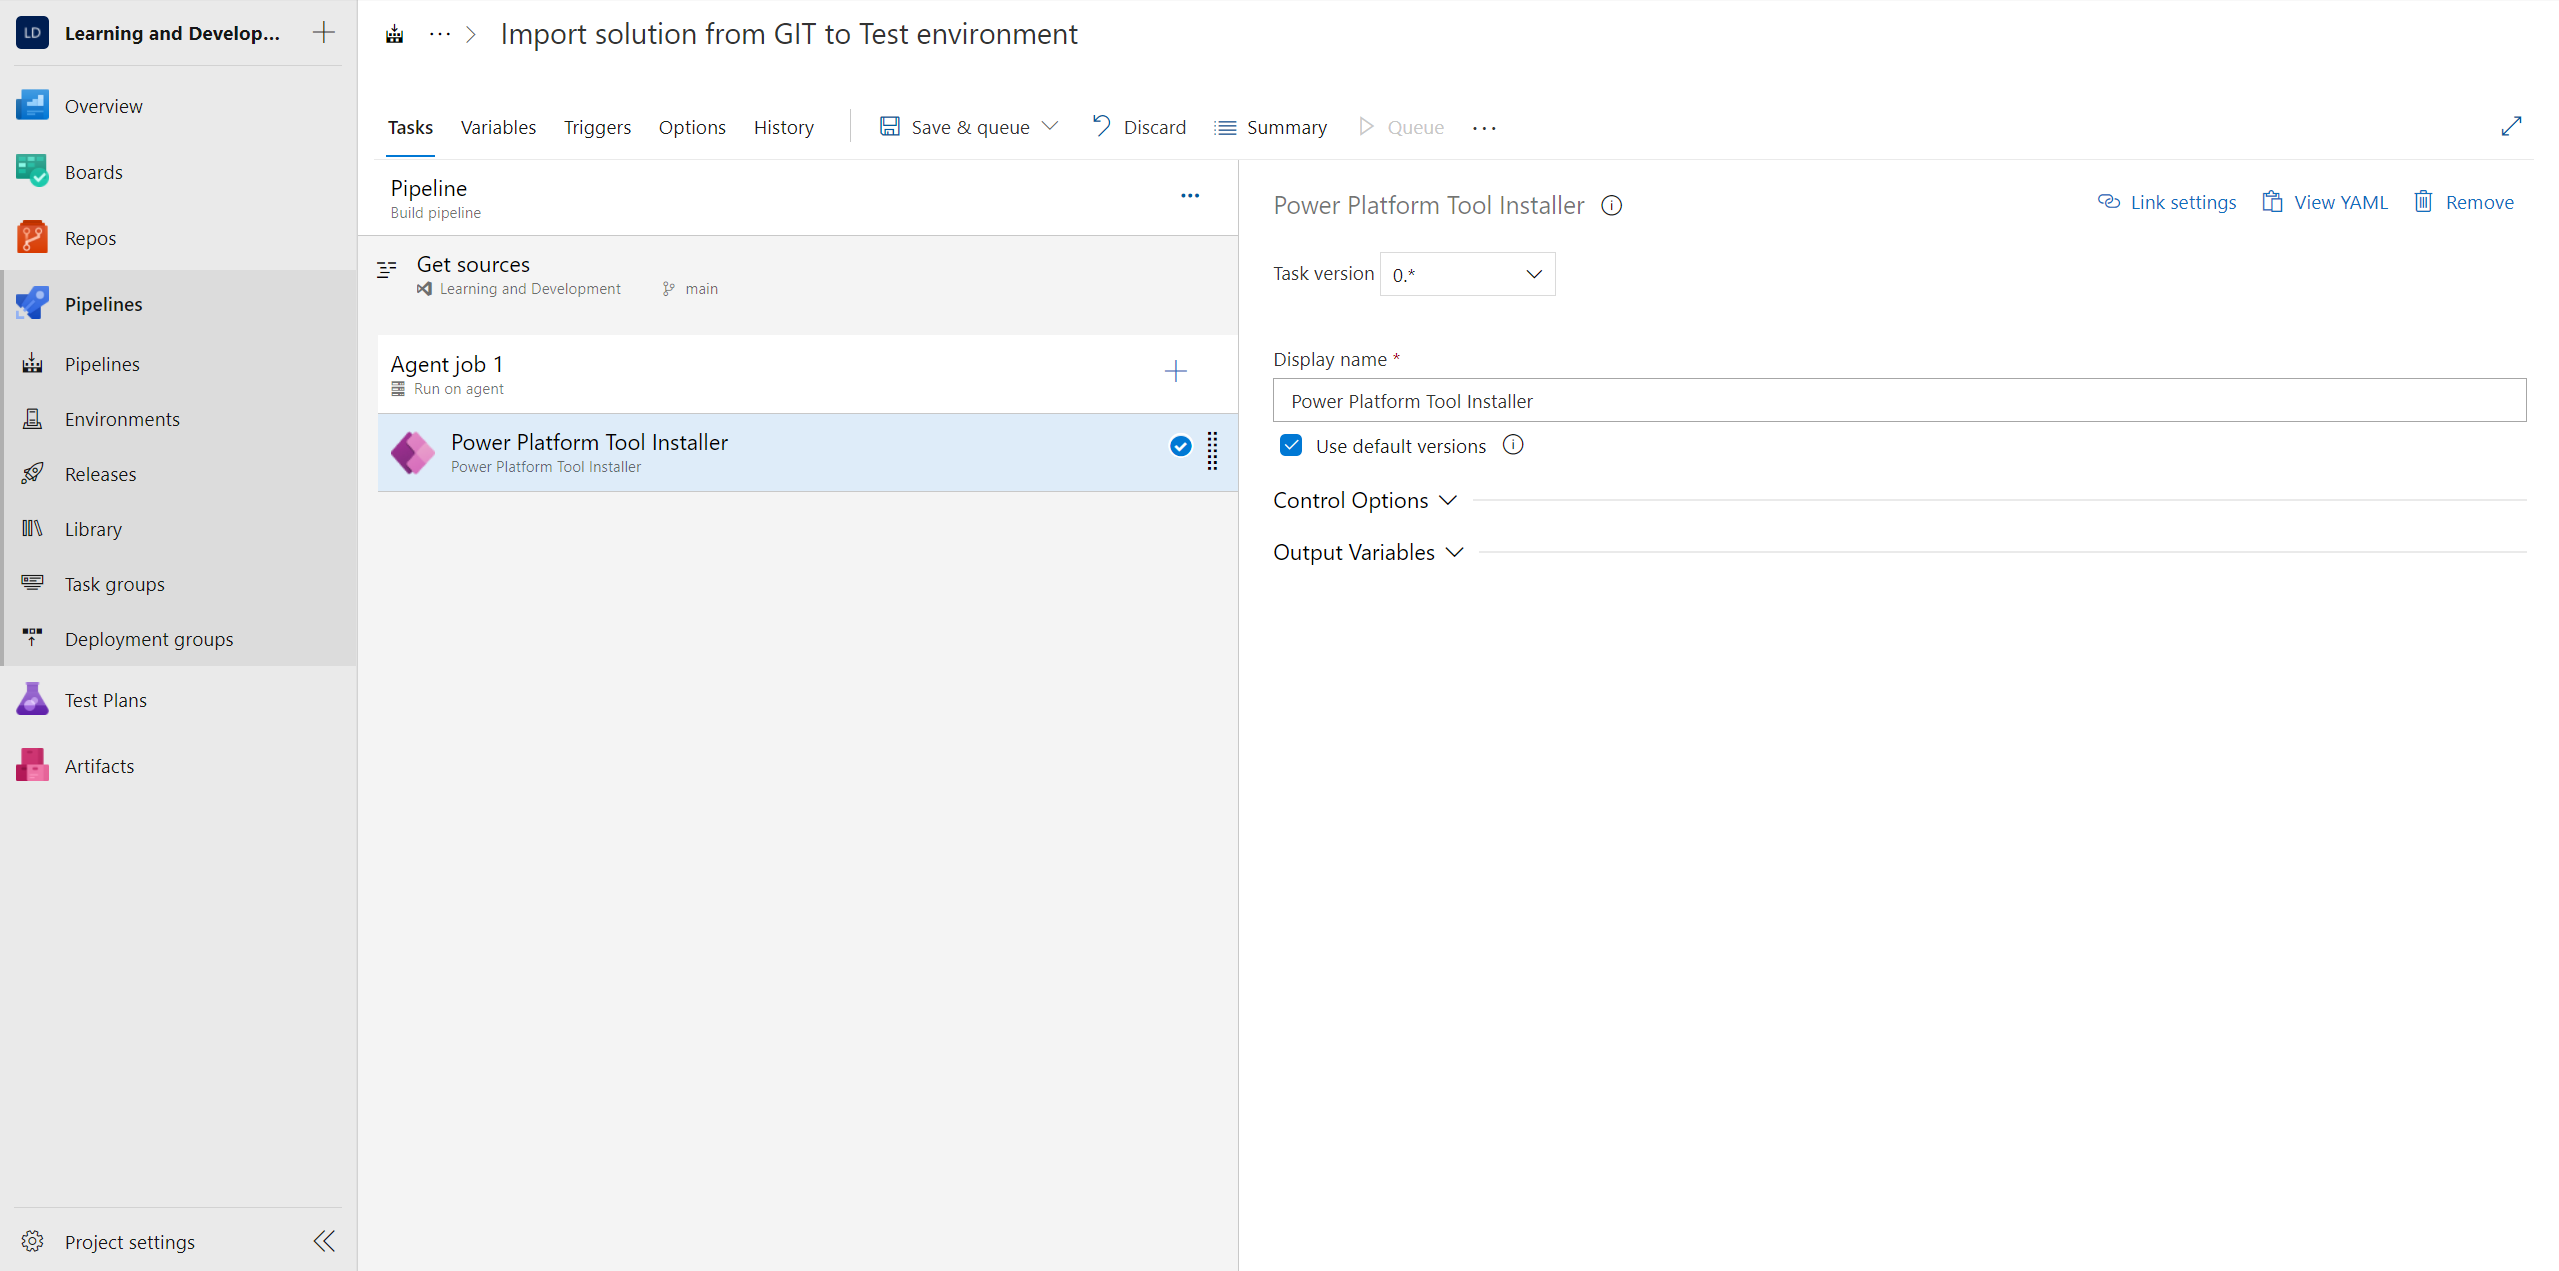
The next step will be to pack the solution source code which we have stored on our repository into a solution zip file which will then be imported into our test environment in the next step of the pipeline. To do so, we will add the “Power Platform Unpack Solution” task to our pipeline and configure it with the same variables that we have used in the previously made pipeline. For the source folder, we will use the variable “$(Build.SourcesDirectory)\$(SolutionName)”, and for the output file directory, we will use the variable “$(Build.ArtifactStagingDirectory)\$(SolutionName).zip”. The result will be as follows:
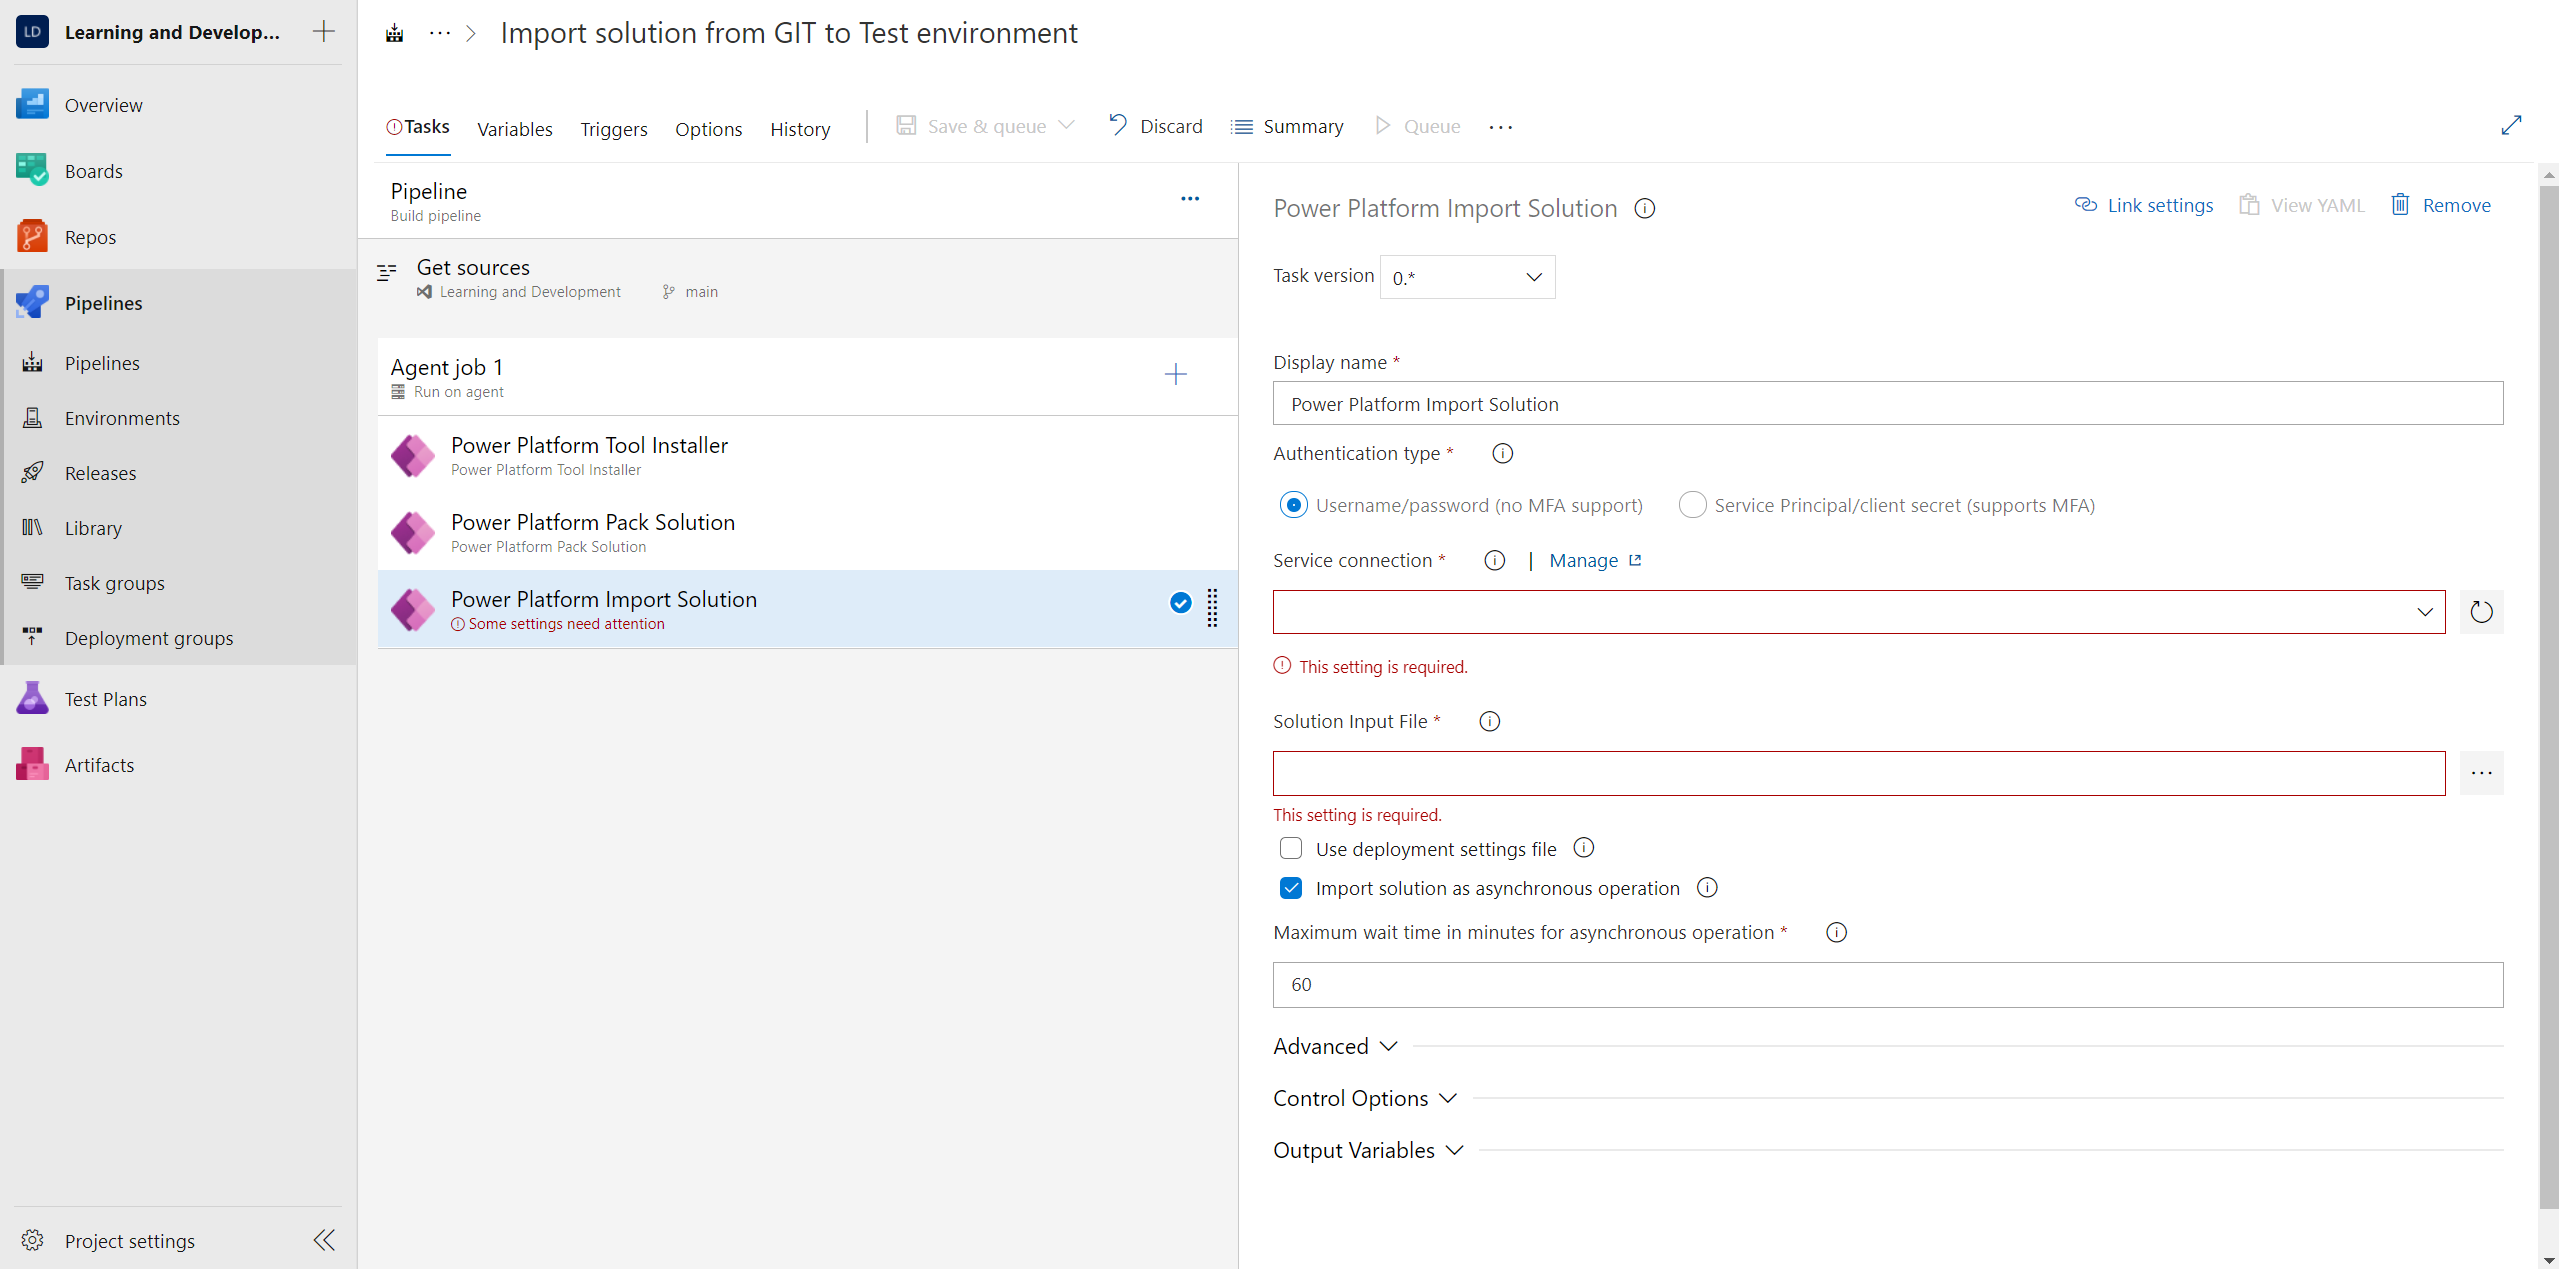
Finally, now we need to import this packed solution into our Test environment. So, let’s add the “Power Platform Import Solution” step to our pipeline.
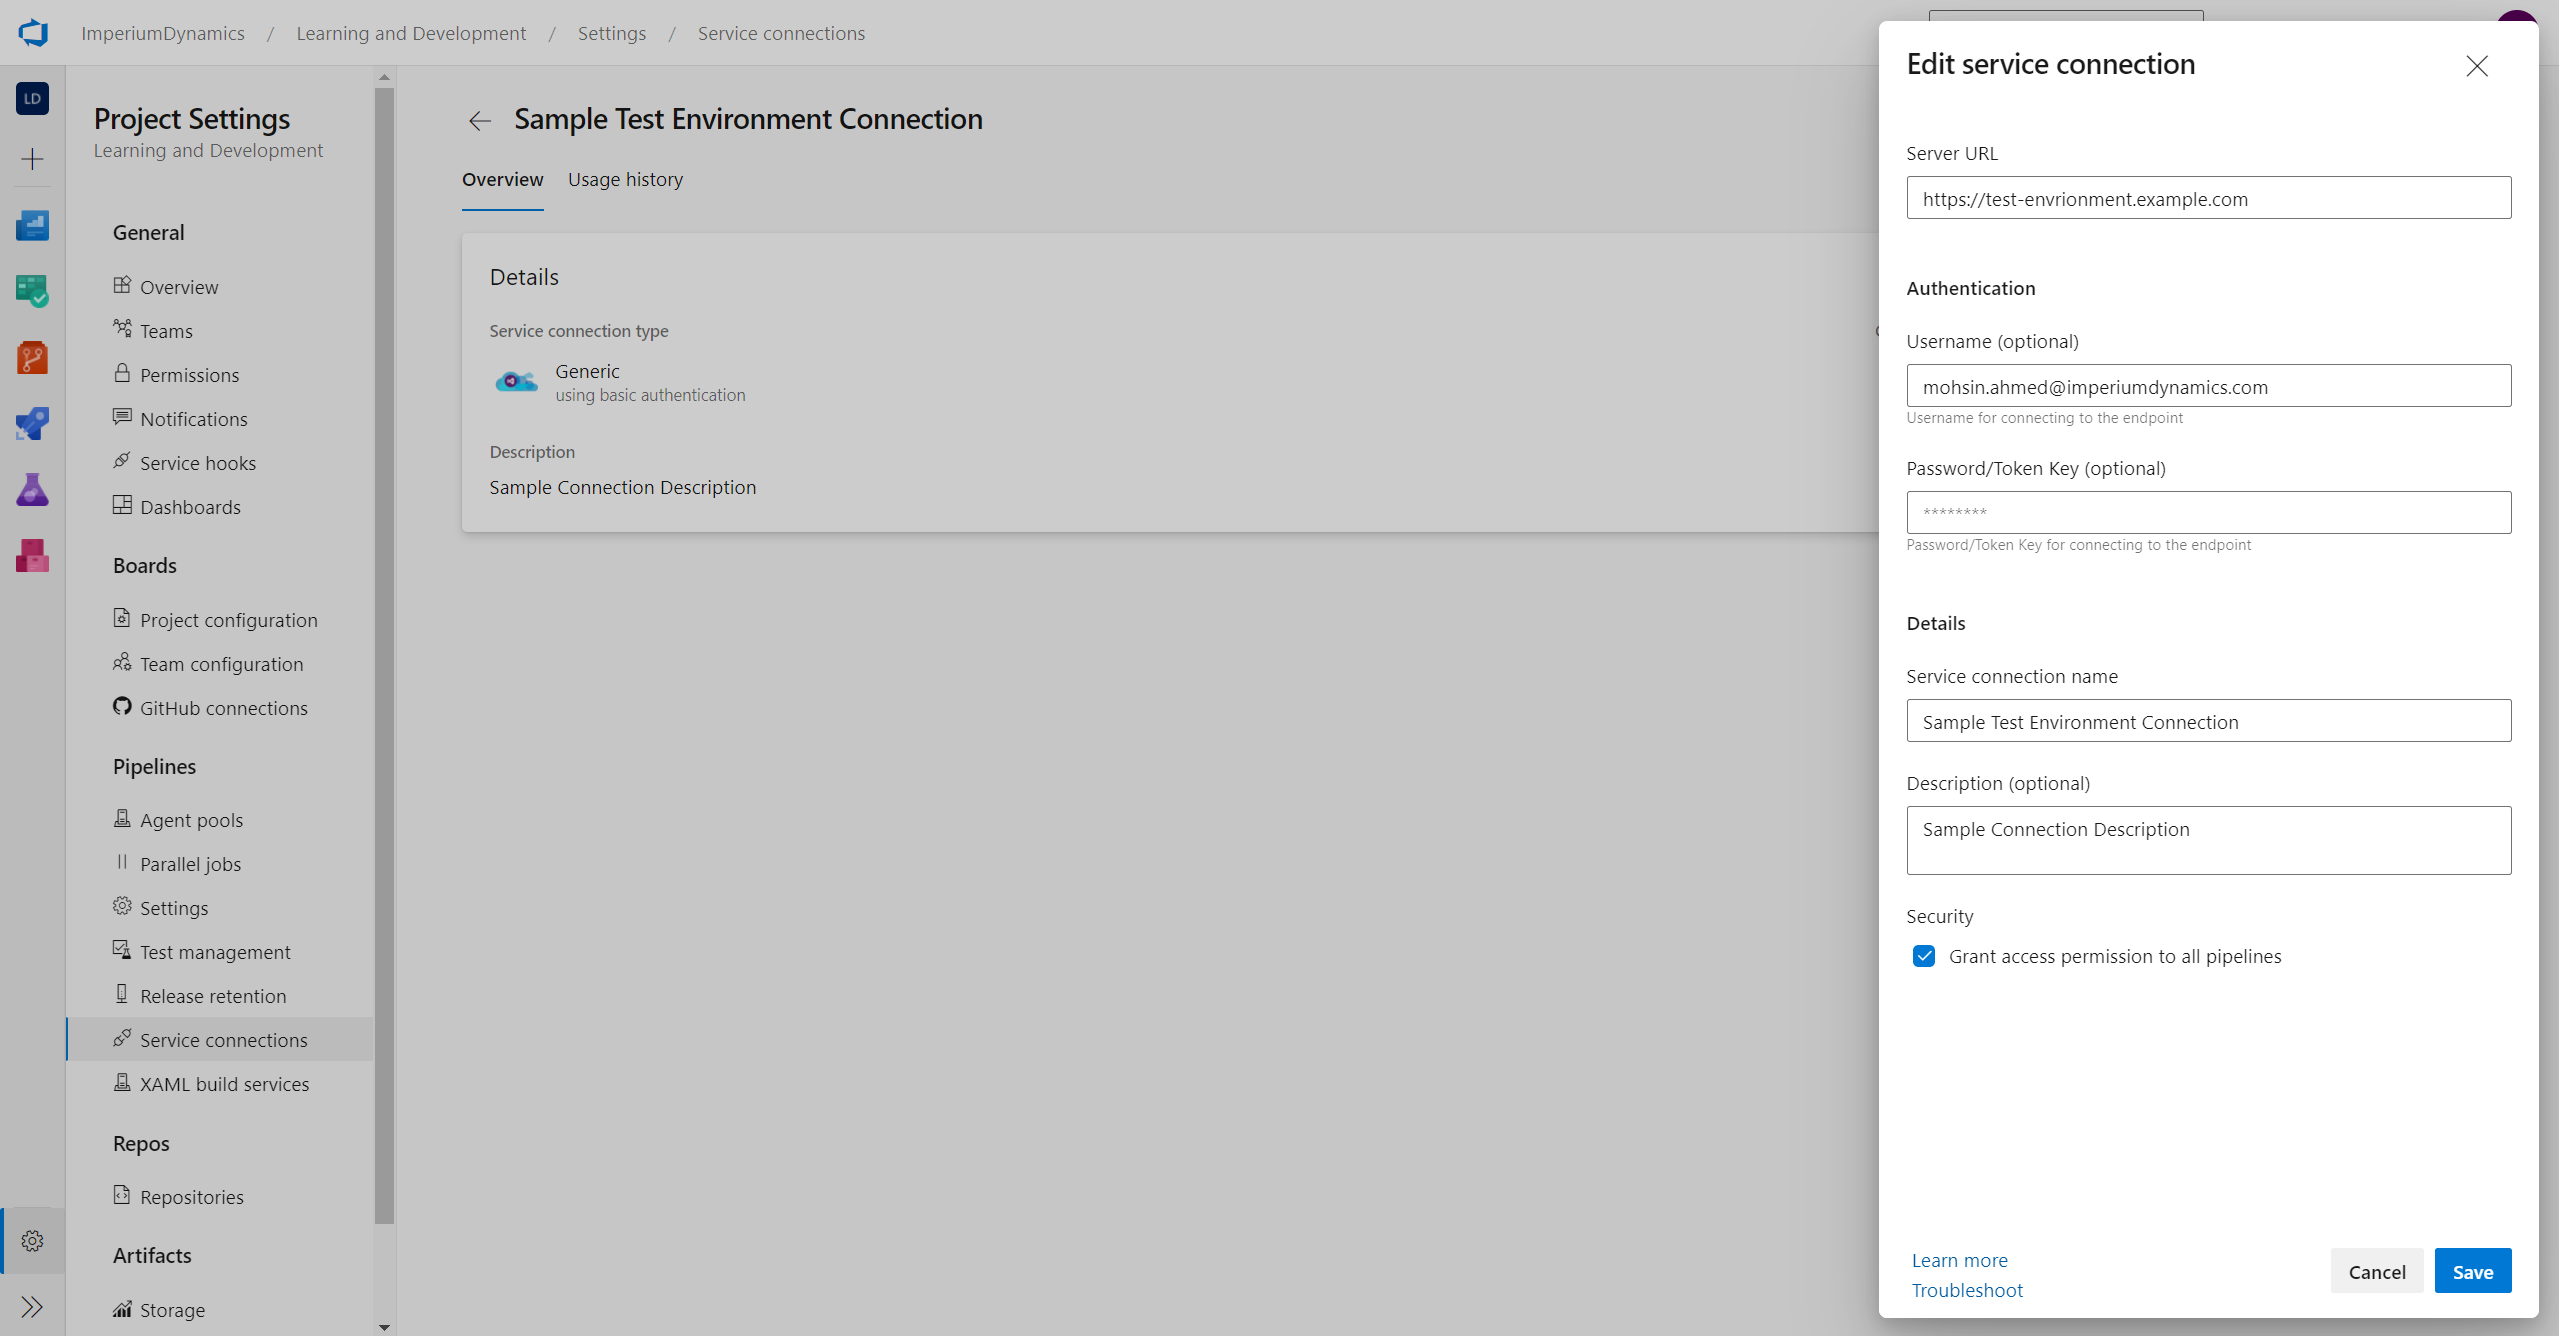
This step now requires some configuration for it to work correctly. Firstly, we will need to create a new service connection for our Test environment. Since we have already described in detail the steps to create the service connection in the previous blog of this series, we will jump straight ahead to the finished connection. This is what it should look like (use actual credentials instead of dummy credentials shown in screenshot):
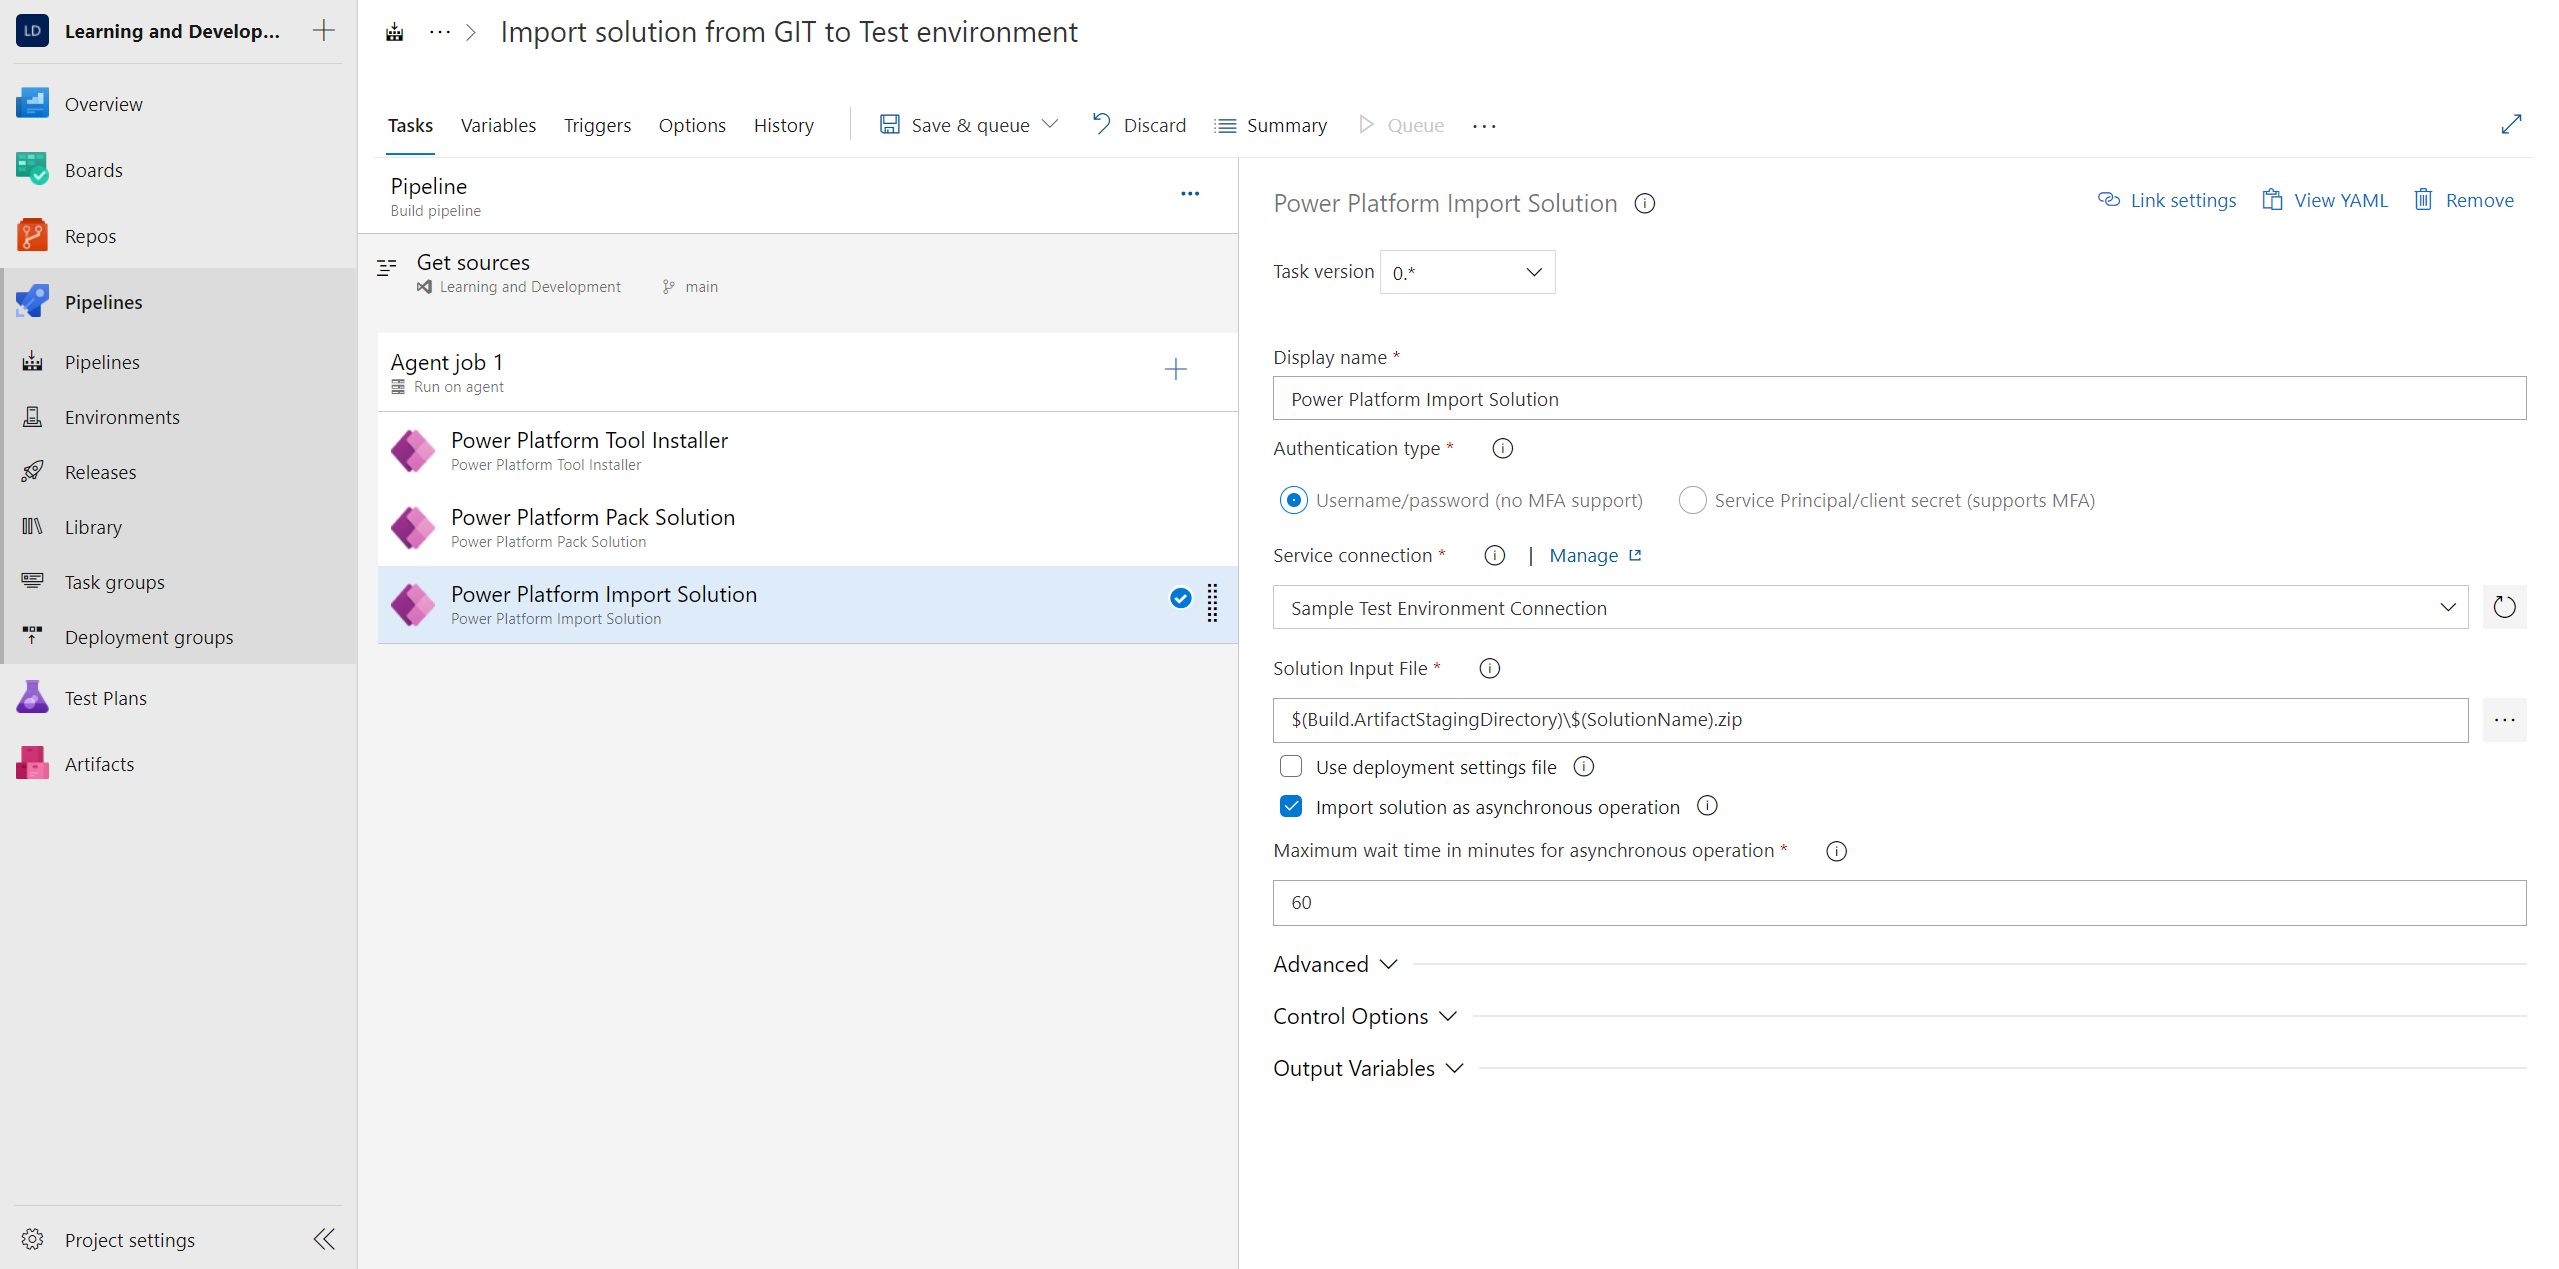
Now refresh the service connection dropdown and select the new Test environment service connection.
Next, for the “Solution Input File” field, we will use the same variable which we used in the “Pack Solution” step’s “Solution Output File” field. This is so because we must use the same solution file in the import solution step which we had previously made in the last step of the pipeline by packing the source code.
Eventually, this step should look like this:
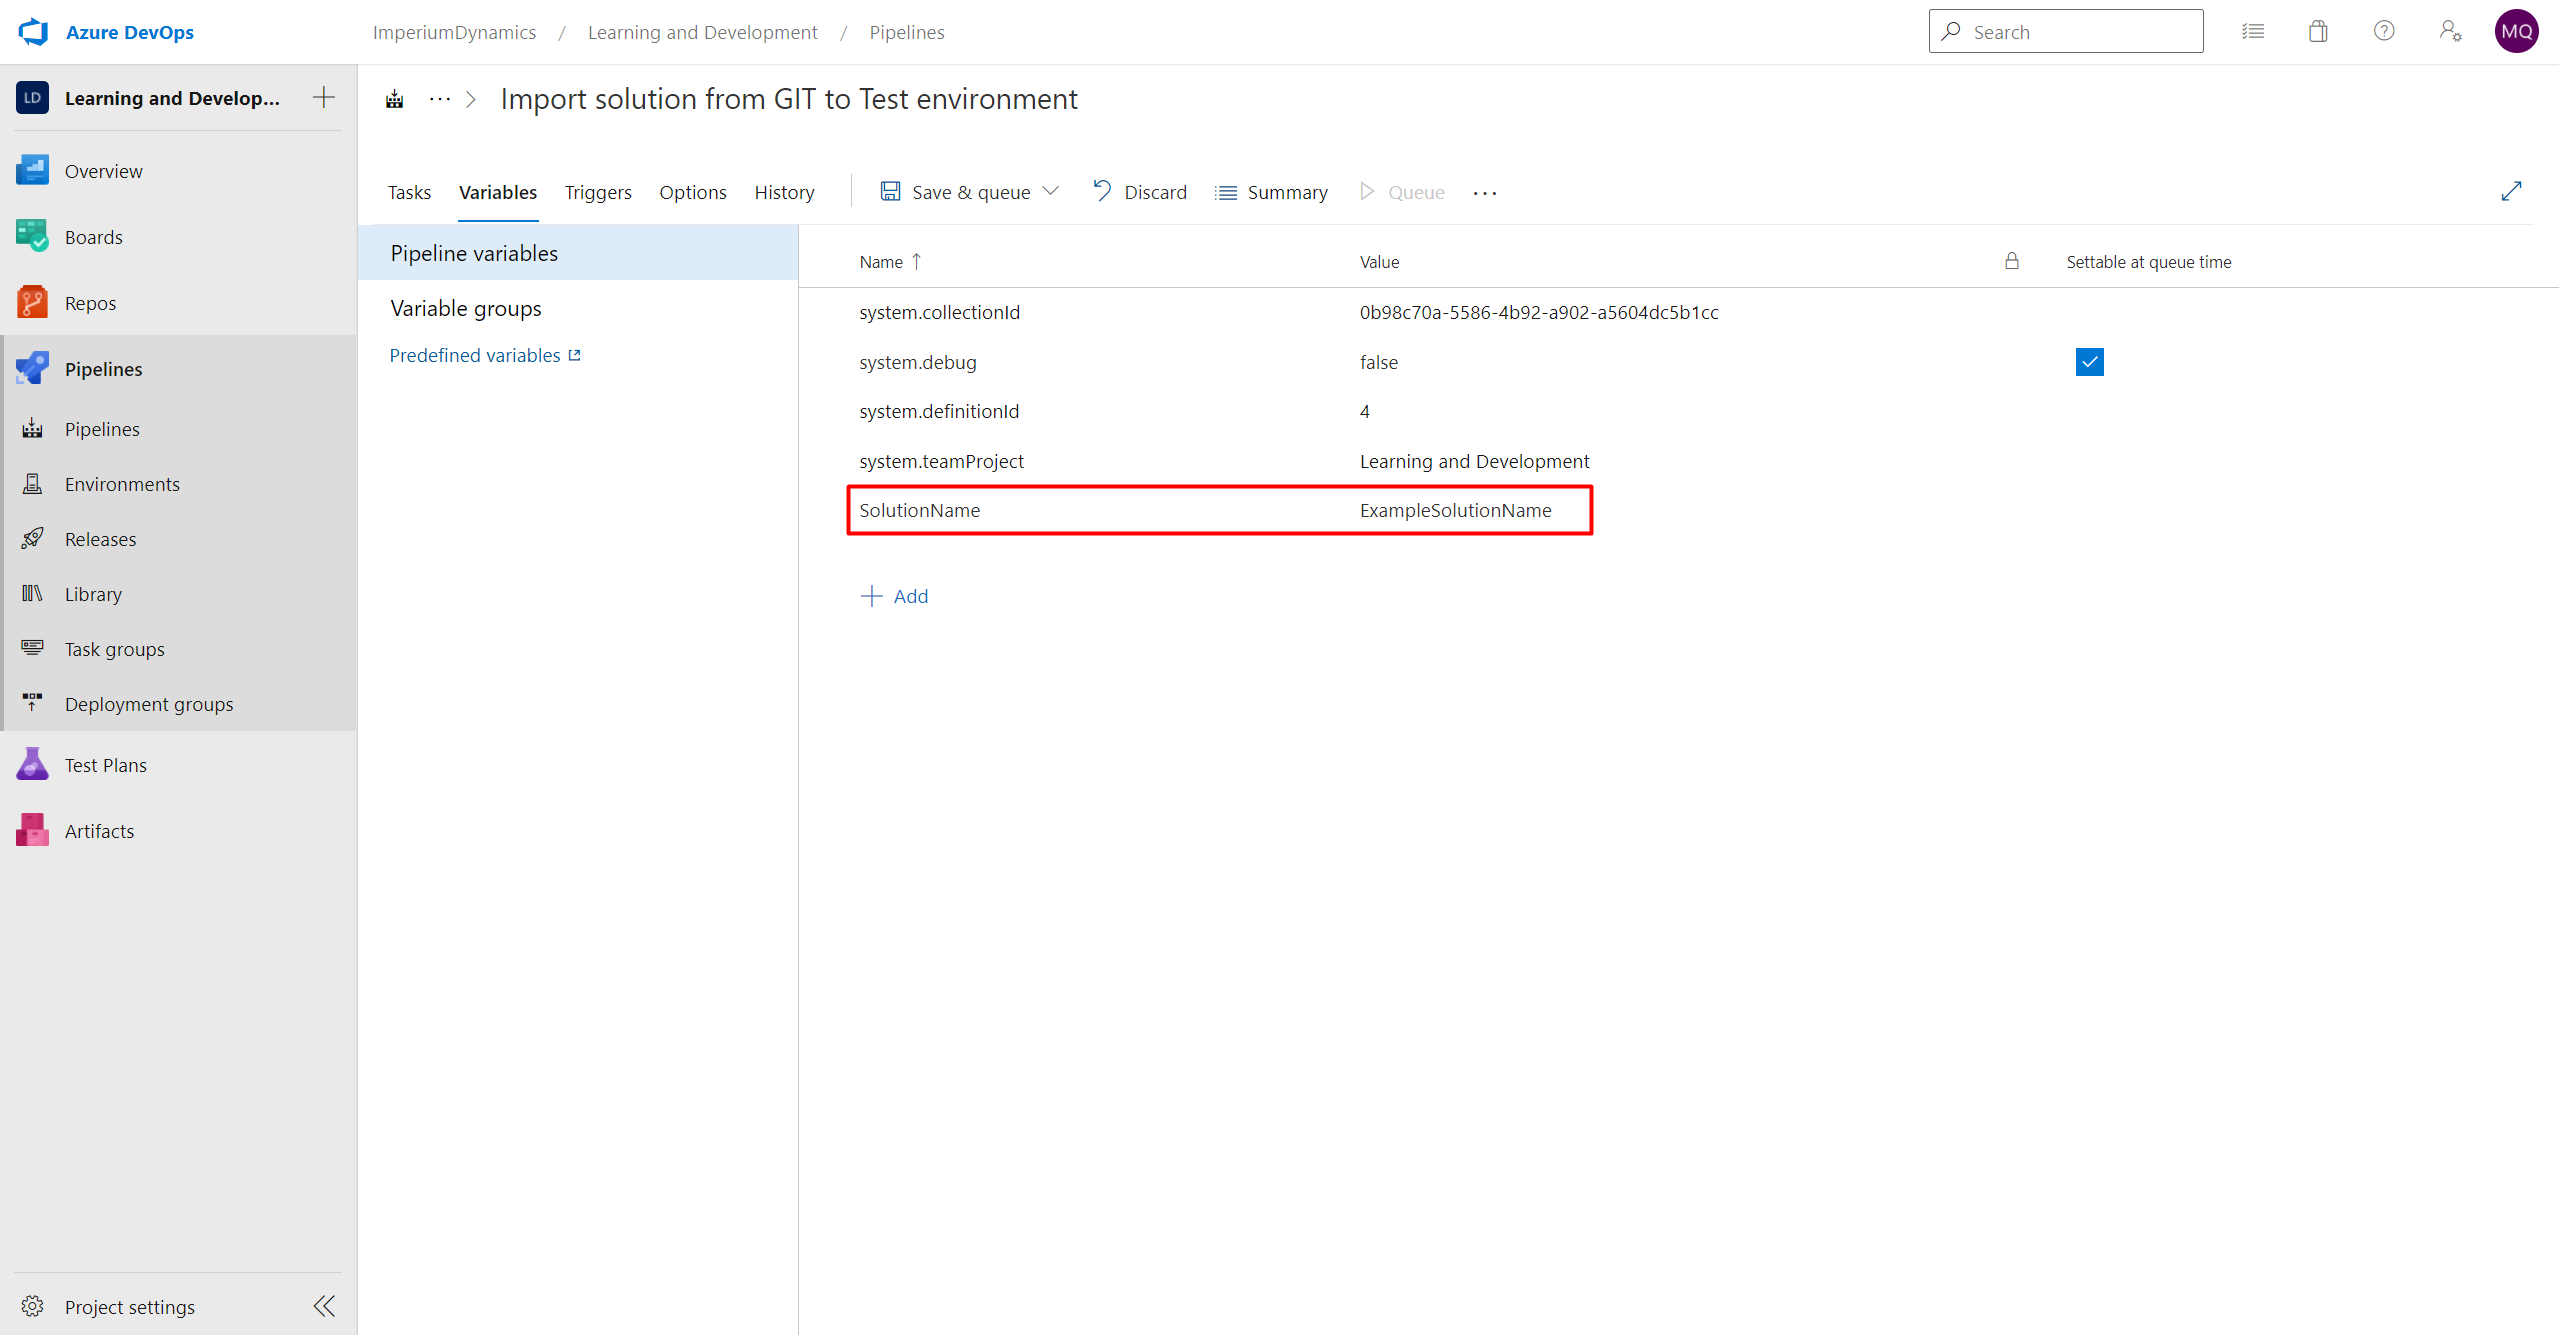
We are just one step away from completion now. We will need to add the “SolutionName” variable which we have used throughout the pipeline. The rest of the variables (I.E. The “Build” variables) are system variables which need not be defined by us. So, let’s go ahead and define our SolutionName variable. The steps to do so shall be the same as mentioned in the previous blog of this series. Apart from the solution name variable having an actual name rather than a dummy one in our case, the variable list should eventually look like this:
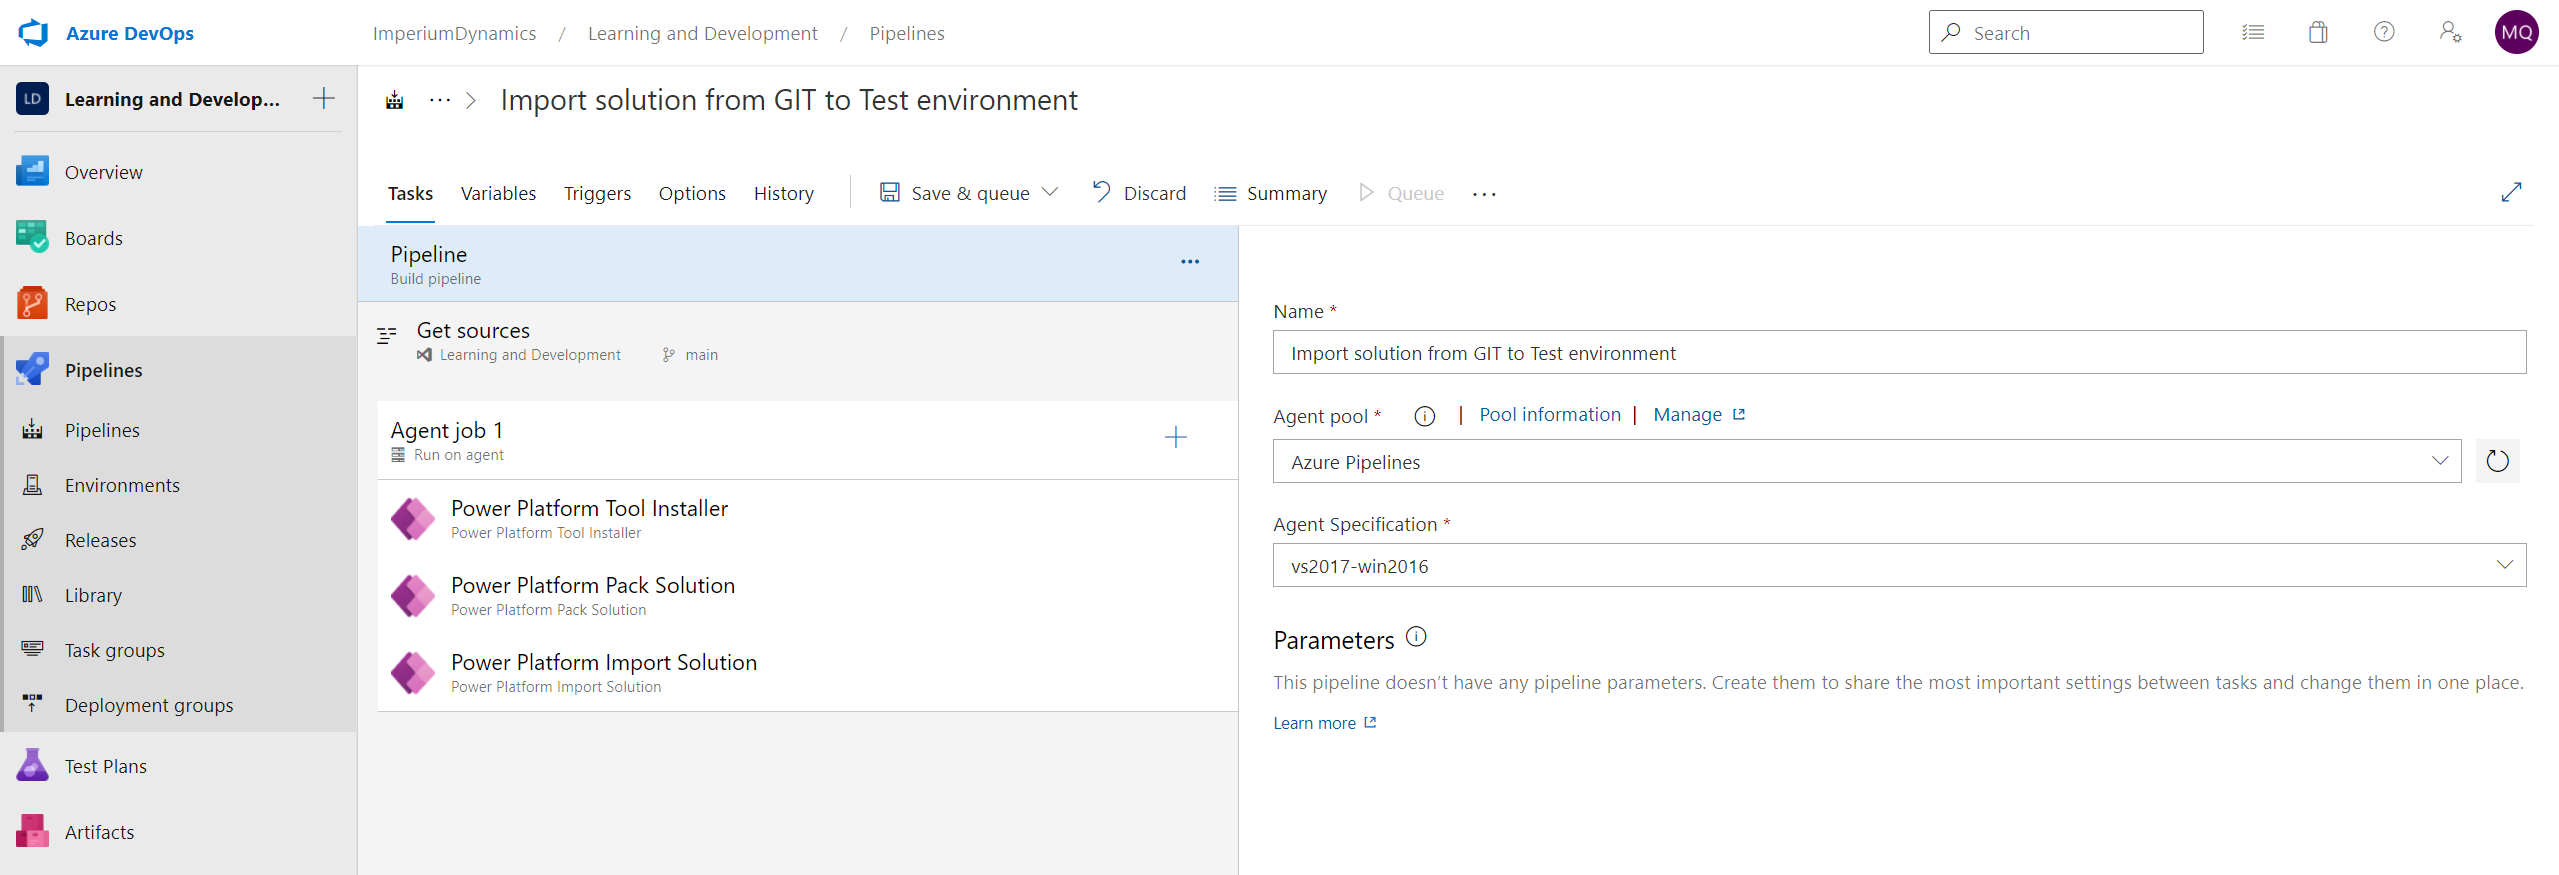
And voila! We are finally done with our pipeline and are one step closer to completing our ALM journey. The pipeline should look somewhat like this:
Now that we have completely implemented our 2 pipelines, we can run both (first then second) and see how our attempt to achieve ALM with Power Platform has come to life. You can also extend these pipelines in the future as you learn more about ALM practices and implement advanced techniques.
Hopefully this blog series has helped you learn about ALM in-general and about its implementation with Power Platform. This should help you bring about ease in development, testing and deployment workflows and eliminate redundant and cumbersome tasks from these workflows.
Thank you for joining us through this journey!
Learn more about Imperium's Power App Services. We hope this information was useful, and we look forward to sharing more insights into the Power Platform world.