| Aqsa Nabi
Every one out of three Organization highly depends on Customers. Managing client inquiries and keeping up with an efficient response rate is extremely important for customer satisfaction. This is where Microsoft Dynamics Customer Service module kicks in, removing most of the human dependencies, and automating tasks to lessen the burden on support department.
The solution follow rule-based approach to help maintain a good statistic for the support department, as well timely case handling with respect to customer management. The interface is easy to use with most of the option available right away, so the user won’t have to put in a lot of time to understand the procedure.
Every incoming or manually created case is led by a timeline were the status of case changes according to the phase conversion. The timeline procedure is the base build of Customer Service module where every case undergoes stages, as per the progress made in the case.
The main form has basic details such as the client information, their Account and Contact names, their case description etc. Here is the part where any agent would put in their effort and time to pick the correct and suitable case according to their knowledge and level of expertise.
To burden off the agents, and save their precious time, Admins can integrate Routing Rules in the Customer Service module. These rules define whether a case should be lined up for the 1st level Agents, 2nd level Agents or seniors.
The process is based on simple steps:
- Your role must be of a System Administrator, Customer Service Manager, System Customizer, or equivalent permissions.
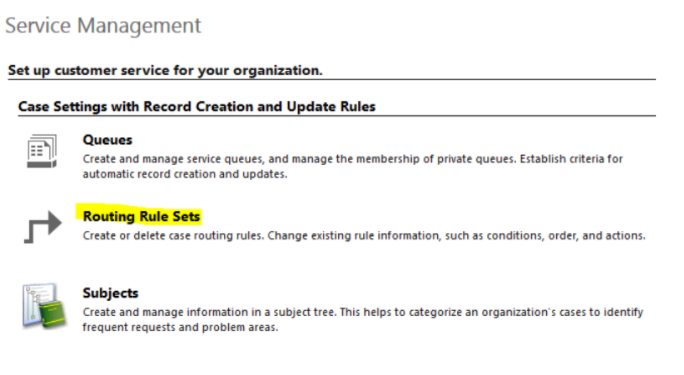
- Click Settings
- Select Business > Service Management > Routing Rule Set
- Select New (for Routing Rule form)
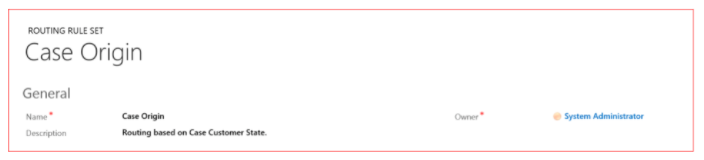
- Navigate to General > Give Name and Description to the routing rule set
- Click Save
- Scroll down to Rule Item.
- Click + on the top right corner and add a Rule Item (One Routing Rule can have multiple Rule items)
- Give an appropriate condition by using the operators
- Select Queue in which the cases based on configured condition should be routed.
- Save and Close the settings.
- Do not forget to Activate the routing rule set record.
The Routing Rules are applied to all the automatically created cases, while you can also manually apply the rule to existing cases by multiselecting cases, and select Apply Routing Rule from the command bar, so the new settings will be applied to existing cases as well.
The applied routing rules will now automatically read the incoming cases, validate rule conditions, and redirect cases to the selected queues. This will now become easy for the agents to view and work on the assigned queues only.
Join us next time, as we continue our journey of learning canvas apps.Click here to learn more about Imperium's Power Apps Services. We hope this information was useful, and we look forward to sharing more insights into the Power Platform world.